Highlights
- Level 6 Spells in Baldur’s Gate 3 are game-changing, offering powerful effects to turn the tide of battle.
- Arcane Gate spell creates portals for quick escapes or quest-breaking tactics within visual range.
- Flesh to Gold and Stone spells offer unique ways to incapacitate foes, while Blade Barrier creates deadly obstacles.
Among the available spells in Baldur’s Gate 3 are Level 6 Spells that serve as the pinnacle of the Magic Schools they represent. In the world of D&D, 6th-level Spells are some of the most powerful magical abilities spellcasters have access to, allowing them to conjure effects that are usually only dreamt of in a person’s wildest dreams.

Baldur’s Gate 3: 12 Best Rings You Can Get In Act 2, Ranked
There are plenty more enchanted rings to pick up in act 2 of Baldur’s Gate 3 that are sure to give players an edge following on from the first act.
In Baldur’s Gate 3 gameplay, 6th-level Spells are spells that others might consider game-breaking, boasting effects that can turn the tide of battle in a single turn. However, not all Level 6 Spells in the D&D adaptation are worth the cast, especially with some of them being extremely situational. But for players who know how to use certain spells to their advantage, a Level 6 Spell makes all the difference in a losing battle.
Updated on April 16, 2024 by Rhenn Taguiam: With Baldur’s Gate 3 once again winning accolades with its stellar performance at the 2024 BAFTA Awards, fans and newcomers to the acclaimed RPG alike may wonder just what it offers in terms of gameplay that makes it so enjoyable. While newcomers may not immediately see the fun in Baldur’s Gate 3’s mechanics until much later in their playthrough, it can help to at least identify late-game abilities that players can invest in to maximize their enjoyment. Among the most powerful Spells in the game are 6th-Level Spells, of which the following are recommended for players to try. In this update, new spells have been added to further expand this list, including spells for delaying the enemy’s advance with arcane swords, covering an area with deathly energies, transforming enemies into either stone or gold, as well as generating highly-efficient portals.
20 Arcane Gate (Conjuration)
A Portal For Easy Access To Locations
|
Casting Time |
1 Action |
|---|---|
|
Range |
18m |
|
Requires Concentration |
Yes |
|
Saving Throw |
None |
While Dimension Door allows players of Baldur’s Gate 3 to gain access to an area within their field of vision, Arcane Gate mixes things up with the ability to create portals that connect extremely distant locations. Technically-speaking, Arcane Gate can only work between two locations that are at most 120 feet apart, compared to the 30m or 98ft teleportation distance available to Dimension Door. Players are given an area of effect where they can choose two points within their visual range.
This expanded distance might not seem like much in terms of practical uses for a 6th-Level Spell, except perhaps for players who want a quick means of escaping a situation without having to reload a Save. Arcane Gate becomes a way to “break” some quests that are rather time-sensitive or location-sensitive, such as when saving Hope.
19 Flesh To Gold (Transmutation)
A More Attractive Punishment For Opponents
|
Casting Time |
1 Action |
|---|---|
|
Range |
18m |
|
Requires Concentration |
Yes |
|
Saving Throw |
CON |
While similar in name to its fellow Transmutation Spell Flesh to Stone, the Flesh to Gold variant is a rarer and more alluring version of the Spell. When cast, its effects are identical to its Stone variant: a target is Restrained and will be transformed into a hard substance if they fail their CON Saves for three turns. In the case of Flesh to Gold, the target “Goldifies,” or transforms into gold with the third failed CON Save.
Despite its appealing visual effect, Flesh to Gold isn’t as ideal to be used against opponents due to its rare nature. It can only be acquired from Gerringothe Thorm in the Reithwin Town Tollhouse for a minimum of 5000 Gold. After doing this, players acquire the Signed Trade Visa, which is essentially going to act as a scroll to release the Spell.
18 Flesh To Stone (Transmutation)
Incapacitate A Foe Until They Turn Into Stone
|
Casting Time |
1 Action |
|---|---|
|
Range |
18m |
|
Requires Concentration |
Yes |
|
Saving Throw |
CON |
It’s one thing to incapacitate an opponent to stop them from fighting in Baldur’s Gate 3’s combat, and Flesh to Stone proves it’s another thing entirely to slowly transform them into stone. When this Spell is cast, a foe is Restrained until they slowly turn into rock. In game terms, this translates into a Petrify Status unless they pass a CON Save within three turns.
When used in conjunction with Bane and other Save-affecting debuffs, Flesh to Stone can be a dangerous Spell to use against most opponents. While the CON Save requirement might make this more difficult to use against bosses, this Spell can still take care of pesky weaker opponents who try to get the player’s attention.
17 Blade Barrier (Evocation)
Secure An Area With Deadly Blades
|
Casting Time |
1 Action |
|---|---|
|
Range |
18m |
|
Requires Concentration |
Yes |
|
Saving Throw |
DEX |
There’s nothing that screams “none shall pass” more to an enemy than razor sharp blades of pure magic floating in the air, and this is exactly what Blade Barrier does to an area. When cast in a Baldur’s Gate 3 session, a Spellcaster can summon forth a wall of arcane blades to an area, transforming the space into Difficult Terrain that also damages anyone already in the location or who tries to pass them.
Aside from the transformation of an area into Difficult Terrain, Blade Barrier is an especially nasty Spell in Baldur’s Gate 3 due to its damaging nature. The blades themselves can cause up to 6d10 Slashing Damage to those who try to pass through them, and half as much damage to those that pass its DEX Save. This alone can make areas debilitating to opponents, especially when they realize how dangerous it is to cross over to the player party’s relatively safer area.
16 Circle Of Death (Necromancy)
Devastate A Location With A Blast Of Deathly Energies
|
Casting Time |
1 Action |
|---|---|
|
Range |
18m |
|
Requires Concentration |
No |
|
Saving Throw |
CON Save |
Players enjoying their Baldur’s Gate 3 gameplay who want to add that extra tinge of darkness to their Spells could go for Circle of Death for a nasty AOE. When cast, players sculpt deathly energies into a ball that they release around a creature, devastating them and those surrounding them with a living ball of death.

Baldur’s Gate 3: Best Gloves (& How To Get Them)
Baldur’s Gate 3 has a robust selection of armor pieces, including a range of gloves. Here is how to find the best ones.
All creatures within range of the target need to make a CON Save or risk taking as much as 8d6 Necrotic Damage, and still take half as much damage on a success. While 24 Damage on half doesn’t seem much, remember that this can apply to all targets within the range of the original target. When aimed at a cluster of foes, Circle of Death could stop mobs from rushing players and allow them to focus on their intended target.
15 Eyebite (Necromancy)
Multi-Targeted Fright To Debilitate Opponents
|
Casting Time: |
1 Action |
|---|---|
|
Range: |
18m |
|
Requires Concentration: |
Yes |
|
Saving Throw: |
WIS Save |
When a spellcaster casts Eyebite in Baldur’s Gate 3, their very eyes become teethed corridors of darkness that inflict the darkest forms of fear onto targets. The Spell can affect targets up to 18 feet, where only a WIS Save can help them avoid its effects that can last up to 10 turns. Unfortunately for targets, a spellcaster’s ally that can cast a convenient Bane (1st-Level Enchantment) could put creatures with high Wisdom at a Disadvantage and suffer its effects.
Affected Eyebite targets may be Panicked (Disadvantaged Ability Checks and Attack Rolls with no Action but to run away), Sickened (Disadvantaged Ability Checks and Attack Rolls), or Asleep (auto-fail DEX and STR Saves, Advantaged against Attacks, auto-crits when hit at 1.5m). What makes Eyebite especially deadly is its ability to be freecast without expending a Spell Slot should the caster be Concentrating on another Spell, practically making Eyebite a deterrent for enemies who would try to distract them.
14 Chain Lightning (Evocation)
Hit Multiple Opponents With Just One Target
|
Casting Time: |
1 Action |
|---|---|
|
Range: |
18m |
|
Requires Concentration: |
No |
|
Saving Throw: |
DEX Save |
Standing among the most powerful Evocation Spells in Baldur’s Gate 3 is Chain Lightning, bringing to life a player’s dreams of inflicting sheer electrifying terror the likes the Dark Side of the Force has never seen. When cast, a target up to 18 meters should make a DEX Save or get hit with 10d8 Lightning Damage.
What’s worse for the target is how the Chain Lightning expels up to three more lightning bolts away from them. If there are up to three enemies within 18 meters of them, they get “chained” into the lightning, possibly taking the same 10d8 Lightning Damage unless they pull off a DEX Save. And even if they do manage to succeed, the guaranteed 5d8 Lightning Damage can still hit hard when set up with the Wet status property.
13 Wall Of Ice (Evocation)
Block The Enemy’s Path With Ice
|
Casting Time: |
1 Action |
|---|---|
|
Range: |
18m |
|
Requires Concentration: |
Yes |
|
Saving Throw: |
DEX Save |
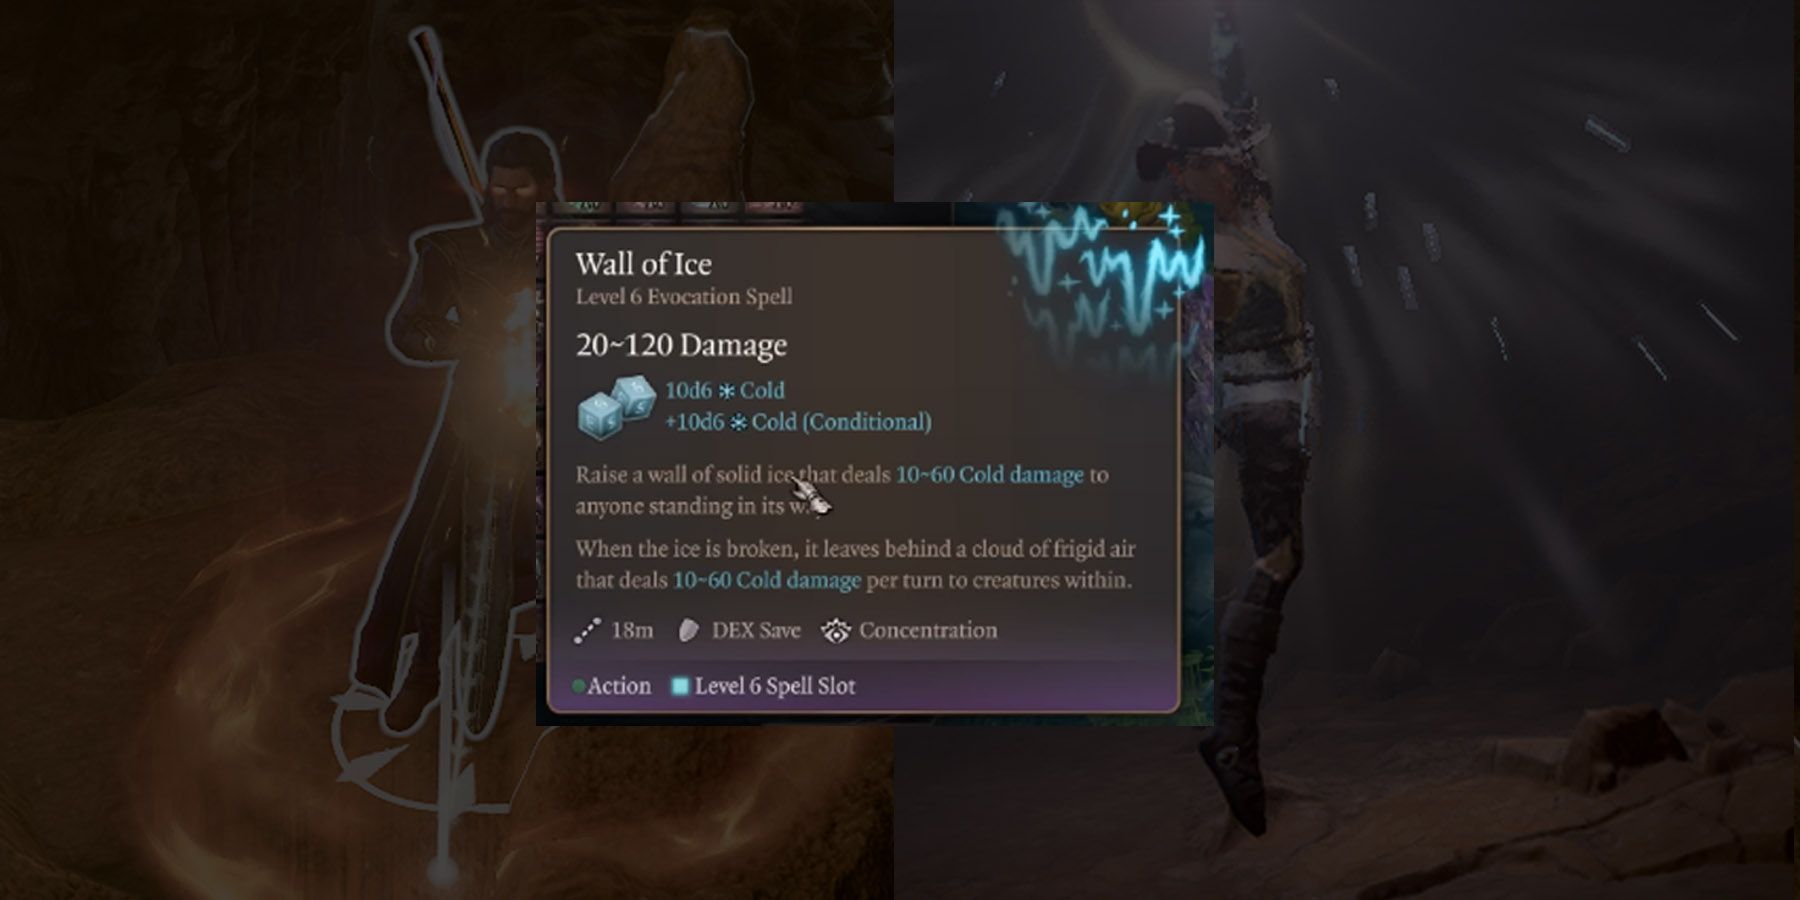
Despite Chain Lightning unleashing electric hell on opponents seems more optimal for its 10d8 Lightning Damage, the less-damaging Wall of Ice can give Baldur’s Gate 3 players much-needed tactical versatility with its effects. Its first effect alone can divide the battlefield for players at a disadvantage, where a wall of solid ice appears from the ground and hits opponents in the way for 10d6 Cold Damage.
However, where Wall of Ice trumps Chain Lightning is with its second effect. Should the Wall of Ice get destroyed, it dissipates into cold air that attacks opponents around and inside it for 10d6 Cold Damage per turn they’re exposed, transforming the former wall into lethal terrain.
12 Wall Of Thorns (Conjuration)
Delay The Enemy Approach With Entangling Vines
|
Casting Time: |
1 Action |
|---|---|
|
Range: |
18m |
|
Requires Concentration: |
Yes |
|
Saving Throw: |
DEX Save |
While the 7d8 Piercing Damage of Wall of Thorns is less than both Wall of Ice and Chain Lightning, its environmental effects in Baldur’s Gate 3 are more valuable than its base damage. When cast, Wall of Thorns creates a crisscrossing wall of thorns with vines that can Entangle enemies caught inside them.
Unlike Wall of Ice, enemies and other creatures can attempt to move through the Wall of Thorns, although at quartered Movement Speed and with a risk of taking 7d8 Piercing Damage per turn. Summoning the Wall of Thorns between players and a horde of opponents can give the team a lot of valuable time to reposition while enemies try to tear through. Players can end their preparation stage with a harsh fire Spell, burning the Wall of Thorns alongside the creatures inside.
11 Heal (Evocation)
One Of The Best Healing Spells In The Game
|
Casting Time: |
1 Action |
|---|---|
|
Range: |
Melee |
|
Requires Concentration: |
No |
|
Saving Throw: |
No |
When it comes to Level 6 Spells in Baldur’s Gate 3 gameplay, sometimes using Heal to guarantee an ally’s survival is more valuable than a damaging Spell. Thanks to this Spell, a target is healed for 70 Hit Points. More importantly, the Spell also removes any signs of disease and Blindness, helping an ally recover from the harsh debuff and get them up to speed.
While there are other Spells such as Mass Cure Wounds (5th-Level Evocation) and Mass Healing Word (3rd-Level Evocation) to heal multiple allies at once, having Heal as a backup 6th-Level Spell can be used to turn the tide of battle.
10 Harm (Necromancy)
A Powerful Direct Attack Against Frail Opponents
|
Casting Time: |
1 Action |
|---|---|
|
Range: |
18m |
|
Requires Concentration: |
No |
|
Saving Throw: |
CON Save |
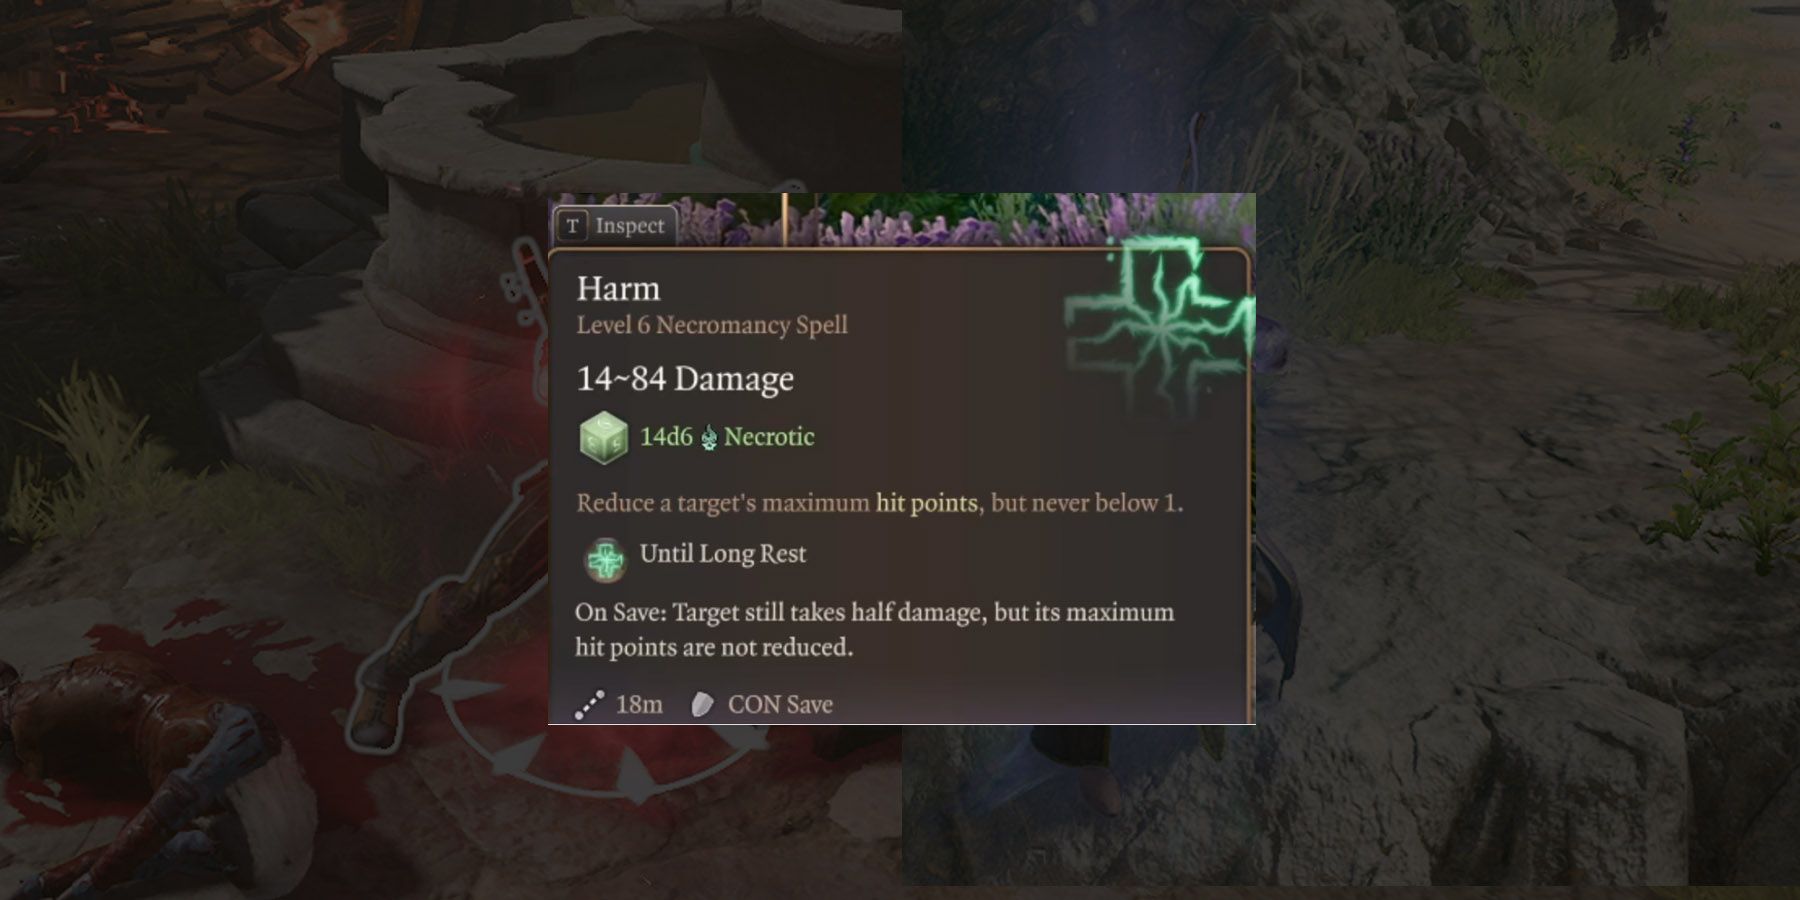
At first glance, Harm being a 6th-level spell that only reduces a target’s Hit Point Maximum until a Long Rest seems rather underwhelming. After all, unless an opponent hits 0 HP, they can still perform just as well as their full-health counterparts. However, players need to remember that this Baldur’s Gate 3 spell comes with an accompanying 14d6 Necrotic Damage, making this quite the damage-heavy attack even prior to its effects.
What makes Harm quite efficient isn’t solely its base damage numbers but rather what it implies for opponents such as bosses. Reducing Hit Point Maximum significantly lessens the total healing they can take to reach high HP, making healing spells from themselves and even allies a waste of time. When used properly, Harm can severely debilitate an opponent’s sustainability on the field and can leave them wide open.
9 Otto’s Irresistible Dance (Enchantment)
Uses The Power Of Music To Stop Attacks
|
Casting Time: |
1 Action |
|---|---|
|
Range: |
9m |
|
Requires Concentration: |
Yes |
|
Saving Throw: |
WIS Save |
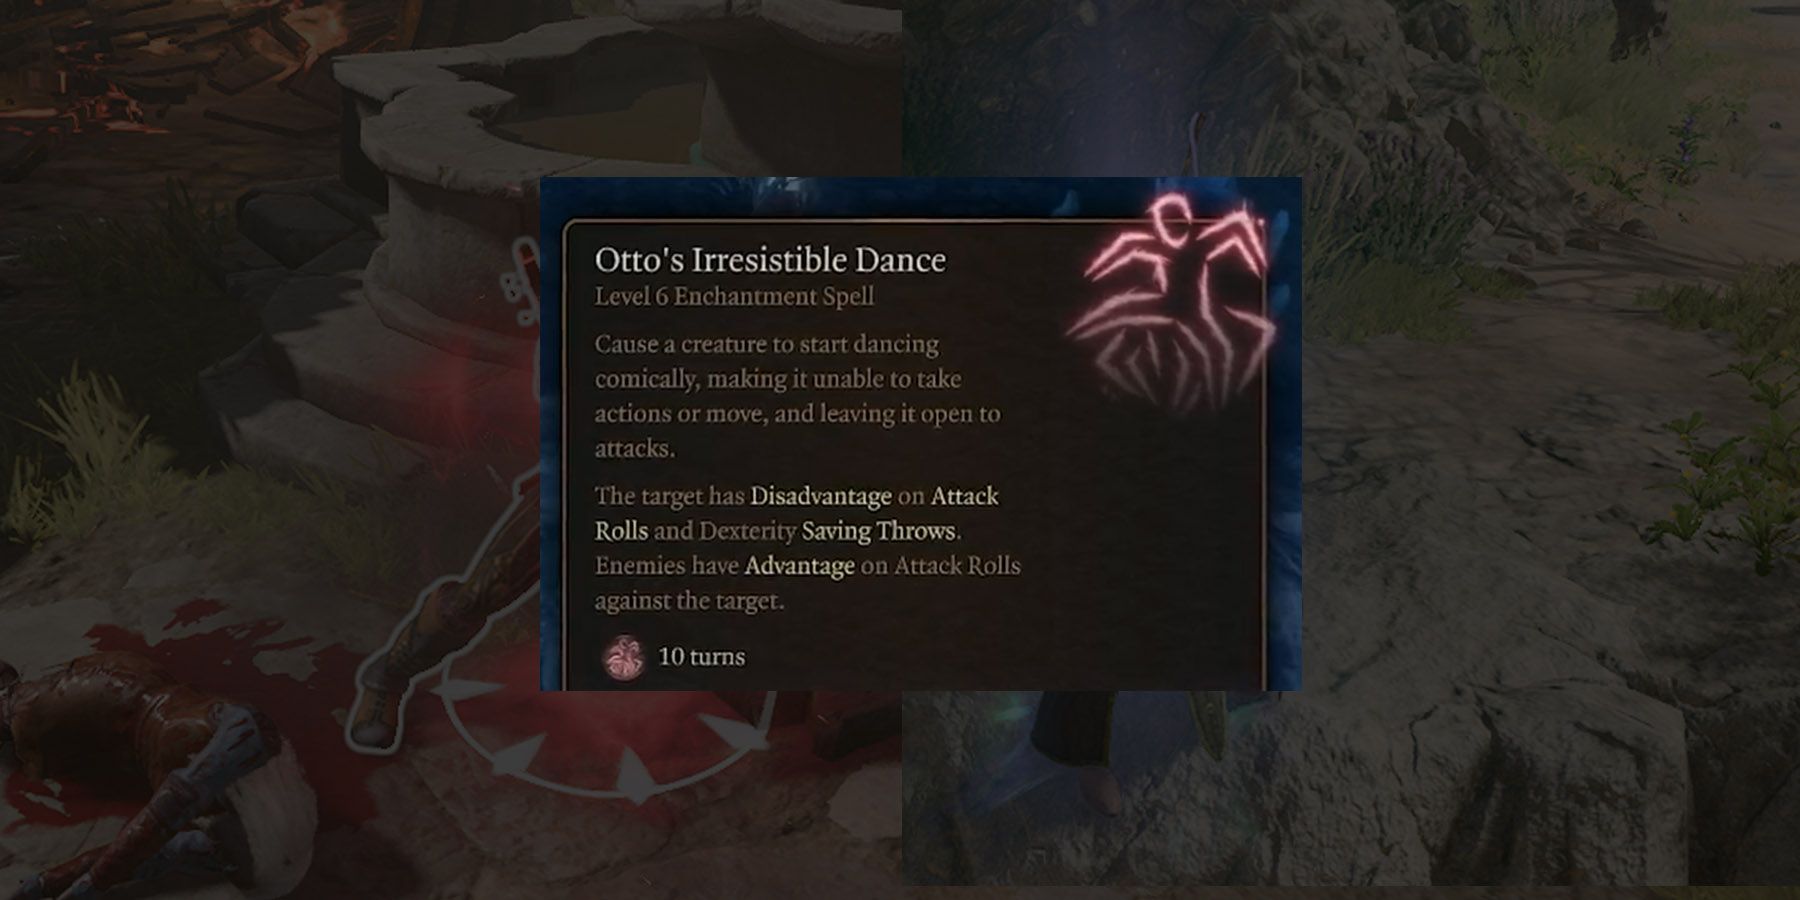
Named after a powerful wizard who resided in Oerth of the Greyhawk campaign setting, Otto’s Irresistible Dance is the epitome of magically enchanting a target. This Baldur’s Gate 3 spell takes an Action and requires Concentration, but a spellcaster with high enough Wisdom can use this often-used dump stat to bypass enemy defenses.
A target affected by Otto’s Irresistible Dance will dance uncontrollably for as long as 10 turns. The nature of this spell means the targets will find it difficult to attack, giving them Disadvantage on Attack Rolls. However, Otto’s Irresistible Dance also debuffs foes with a Disadvantage on DEX Saves while buffing the target’s attackers with Advantage on their Attack Rolls. When used against a boss, Otto’s Irresistible Dance can make them a much easier target to eliminate.
8 Planar Ally (Conjuration)
Summon A Potent Ally For Backup
|
Casting Time: |
1 Action |
|---|---|
|
Range: |
60ft |
|
Requires Concentration: |
No |
|
Saving Throw: |
None |
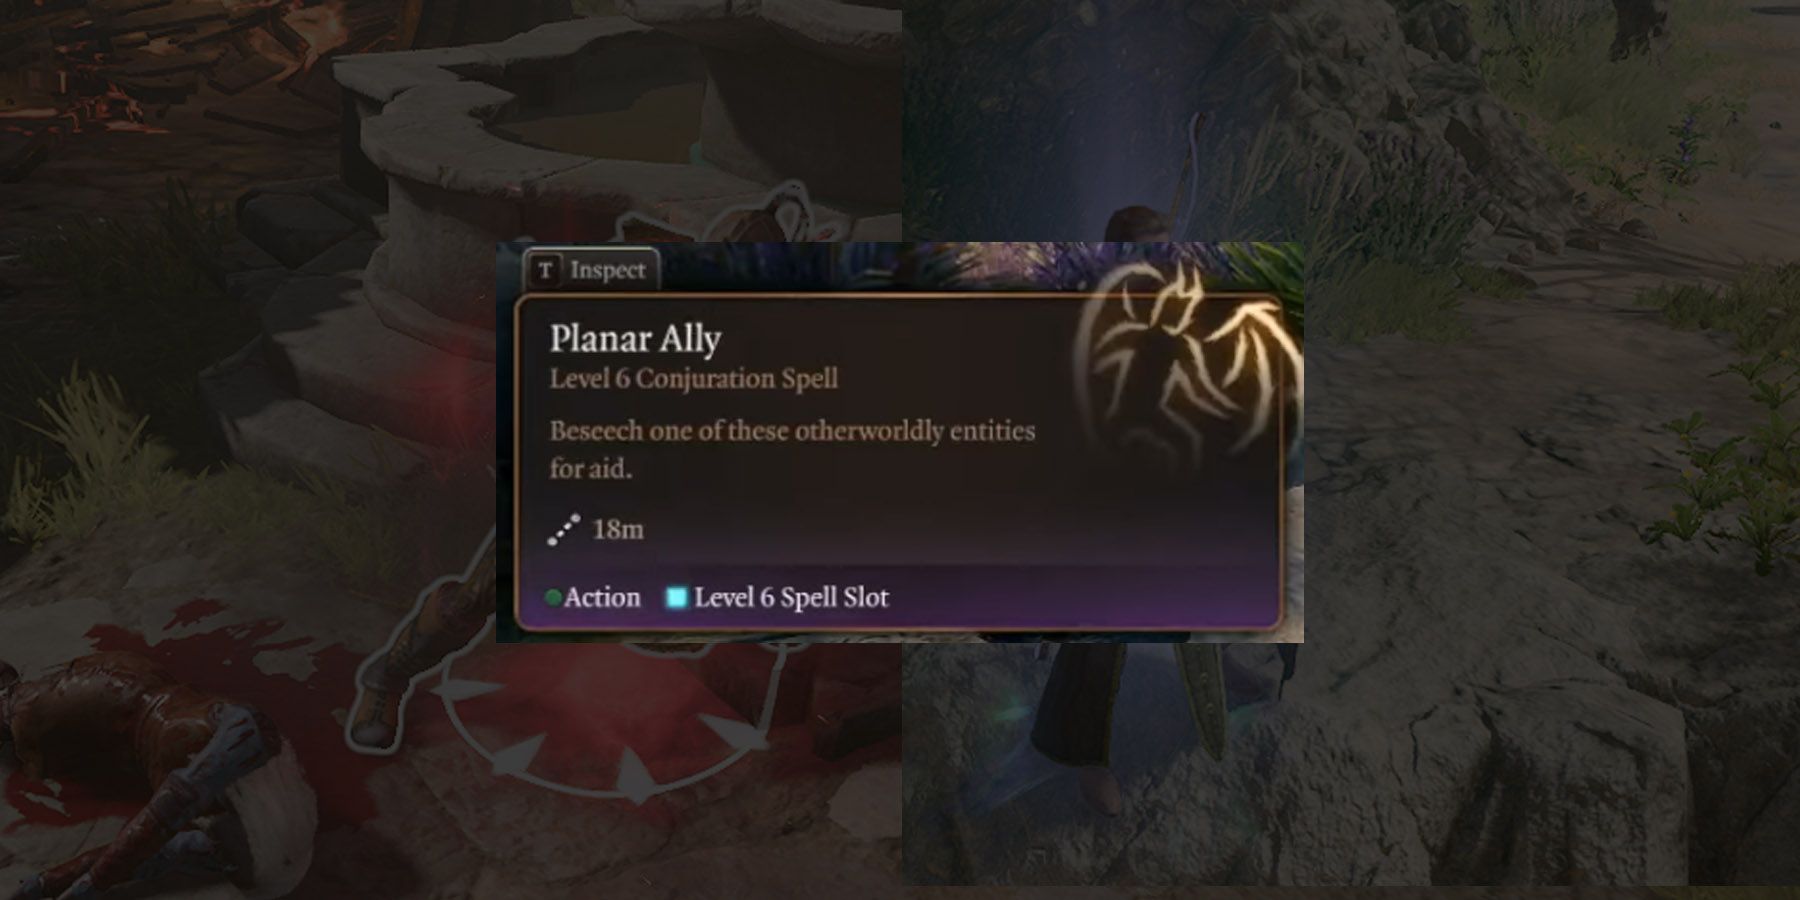
With an RPG like Baldur’s Gate 3 only allowing players to have a four-person party, one can expect their characters to be constantly overwhelmed in combat. And when facing bosses with a lot of HP and even more formidable mobs, players may find themselves in a losing battle of attrition. Thankfully, a Familiar via Planar Ally can turn the tide, with the 6th-Level spell summoning a powerful Cambion, Deva, or Djinn to help the players until their Long Rest.
Despite the hefty summoning cost, the 6th-level spell slot is usually worthwhile, as fights that need the Planar Ally will likely end in a situation that allows a Long Rest anyway. Moreover, with the Planar Ally having quite a diverse toolkit, the 6th-level spell slot may be the equivalent of all the attacks and extra crowd control spells the Ally casts in combat.
7 Sunbeam (Evocation)
Flashy Targeted Beam Destruction
|
Casting Time: |
1 Action |
|---|---|
|
Range: |
18m |
|
Requires Concentration: |
Yes |
|
Saving Throw: |
CON Save |
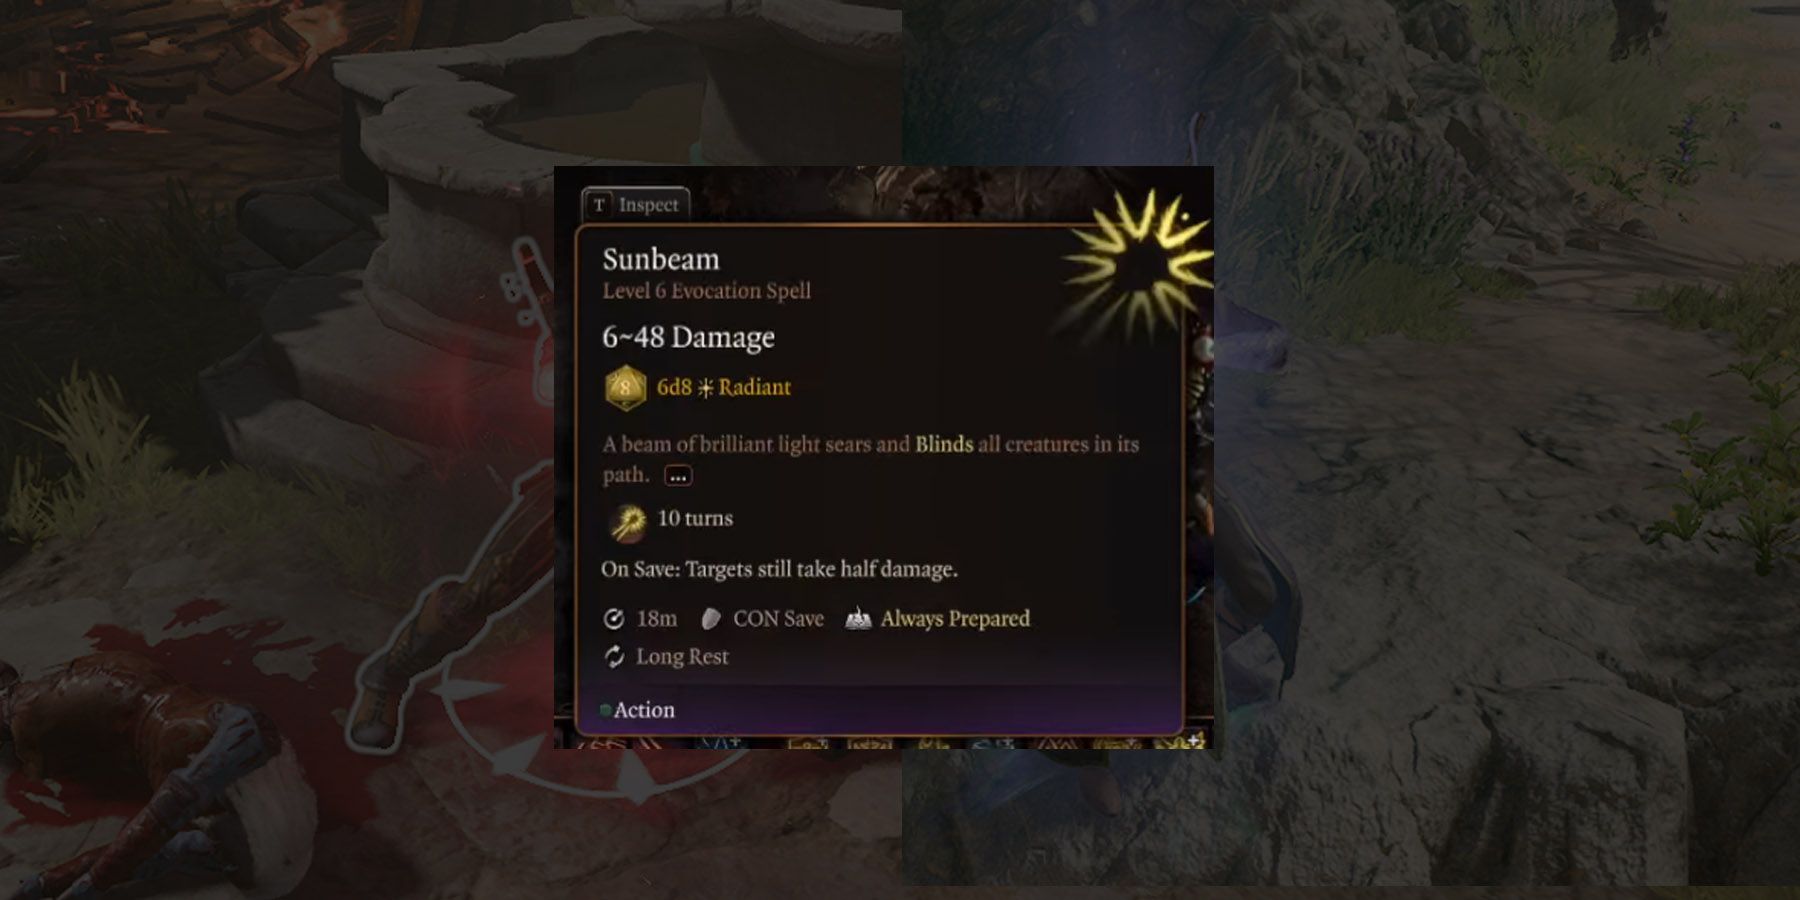
Players looking for the best combat spells in Baldur’s Gate 3 should consider the sheer devastation brought by Sunbeam. When cast, Sunbeam fires a beam of brilliant light from the sky and onto the ground, Blinding all creatures in its path and damaging them for 6d8 Radiant Damage (or half with at a CON Save).

Baldur’s Gate 3: 9 Inventory Management Tips
Managing one’s inventory in Baldur’s Gate 3 is essential. These easy tips are worthwhile to keep in mind.
Its secondary effect makes Sunbeam more worthwhile compared to its similarly-leveled counterparts. As a Concentration spell, players who just cast Sunbeam can continuously recast the spell once per turn for free across 10 turns, assuming the enemy doesn’t break the player’s concentration.
6 Otiluke’s Freezing Sphere (Evocation)
Create A High-Damaging Chilling AOE
|
Casting Time: |
1 Action |
|---|---|
|
Range: |
Melee |
|
Requires Concentration: |
No |
|
Saving Throw: |
CON Save |
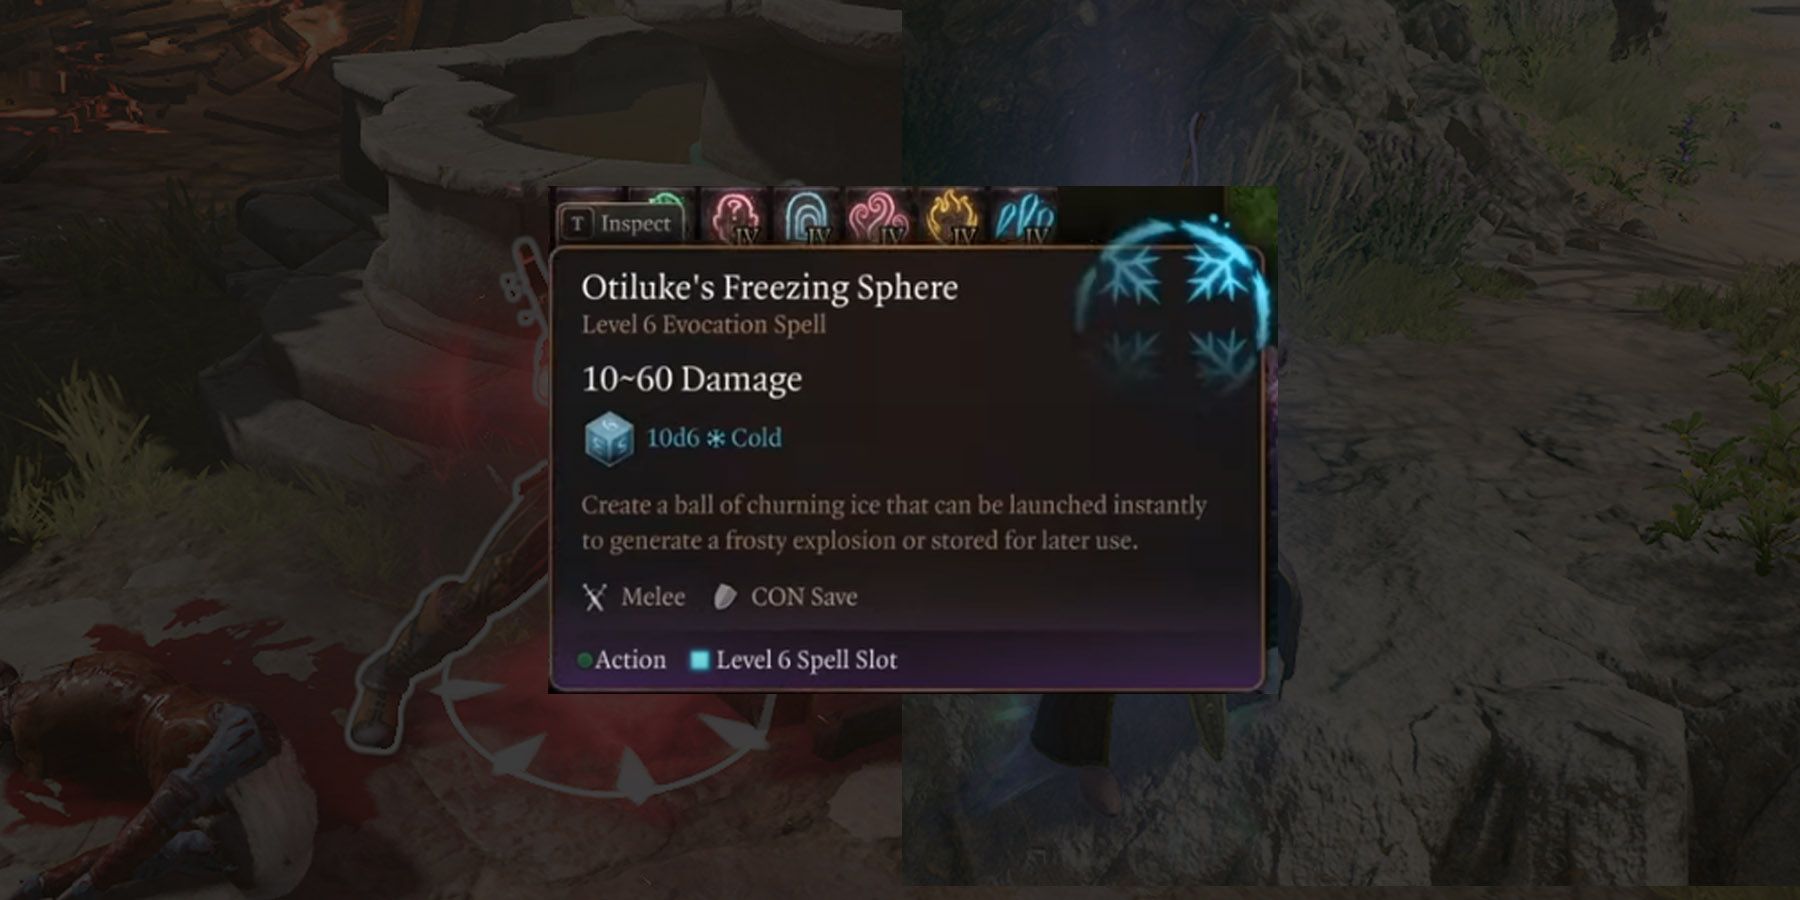
Timing is a crucial element in a tactical RPG like Baldur’s Gate 3, especially when players need enemies to do a specific action or meet certain conditions before the party launches their planned attack. This situation makes a spell like Otiluke’s Freezing Sphere a phenomenal 6th-Level spell, as casting the spell is different compared to actually using it as an attack.
Named after a famous Wizard in the Greyhawk campaign setting of D&D, Otiluke’s Freezing Sphere creates a ball of ice that, when thrown, can burst into a chilly explosion of 10d6 Cold Damage. Unlike other spells, players can get more out of Otiluke’s Freezing Sphere due to its CON Save and the fact that players can delay throwing the sphere and allow the party to set up enemies for a disastrous AOE attack.
5 Globe Of Invulnerability (Abjuration)
Protect Allies To Prepare For Counter-Attacks
|
Casting Time: |
1 Action |
|---|---|
|
Range: |
3m |
|
Requires Concentration: |
Yes |
|
Saving Throw: |
No |
Considering how Armor Class is all it would take for an enemy to down player characters in a few attacks, combat in Baldur’s Gate 3 can quickly turn against players who can’t get their defenses in order. For higher-level players who want to secure the team’s protections in deadlier combat, they may want to use Globe of Invulnerability, perhaps the highest-leveled Abjuration spell in the game.
When used, Globe of Invulnerability creates a spherical barrier that lasts for three turns. All creatures and objects inside this barrier are considered Immune to all damage, practically rendering most ranged attacks useless. With the right positioning, this spell should give the party enough time to recover or release their most powerful attacks without worrying about retaliation.
4 Create Undead (Necromancy)
Create Allies Out Of The Dead
|
Casting Time: |
1 Action |
|---|---|
|
Range: |
18m |
|
Requires Concentration: |
No |
|
Saving Throw: |
No |
Defeating a powerful enemy in a Baldur’s Gate 3 encounter is a sign of relief to players, especially since the mobs that are left for them to fight are likely much weaker than their head honcho. For the Necromancer, however, a powerful enemy’s corpse isn’t only rewarding post-fight. With Create Undead, a corpse on sight is a powerful asset to the team.

Baldur’s Gate 3: Every Companion’s Backstory Explained
The companions in Baldur’s Gate 3 all have their own backstories, and most of them seem to have a tragic and rough past in one way or another.
This 6th-level spell works only on Small to Medium corpses, wherein the Necromancer transforms them into a mummy that players can use as an extra companion. This mummy ally lasts until players take a Long Rest, which is usually set to happen after a difficult encounter where the enemy’s own is turned against them.
3 Wind Walk (Transmutation)
Secure Party-Wide Stealth
|
Casting Time: |
1 Action |
|---|---|
|
Range: |
9m |
|
Requires Concentration: |
No |
|
Saving Throw: |
No |
Sometimes, the best spells aren’t always offensive abilities but rather ones that allow players to survive in the direst of situations. Such an example is Wind Walk, a 6th-level Transmutation spell that transforms the caster and nearby allies into mist clouds. Outside combat, Wind Walk can easily help players bypass guards and hostile territory without wasting too many turns.
However, combat is where Wind Walk shines, especially in cases where players need to retreat. While Wind Walk disables actions, conversations, and spellcasting, the fact that opponents can’t hit players in this form can make this a nifty option when escaping extremely dangerous fights. Wind Walk can become a lifesaver in unexpected boss fights or when a boss fight goes awry.
2 Disintegrate (Transmutation)
Auto-Kill At 0 HP
|
Casting Time: |
1 Action |
|---|---|
|
Range: |
9m |
|
Requires Concentration: |
No |
|
Saving Throw: |
DEX Save |
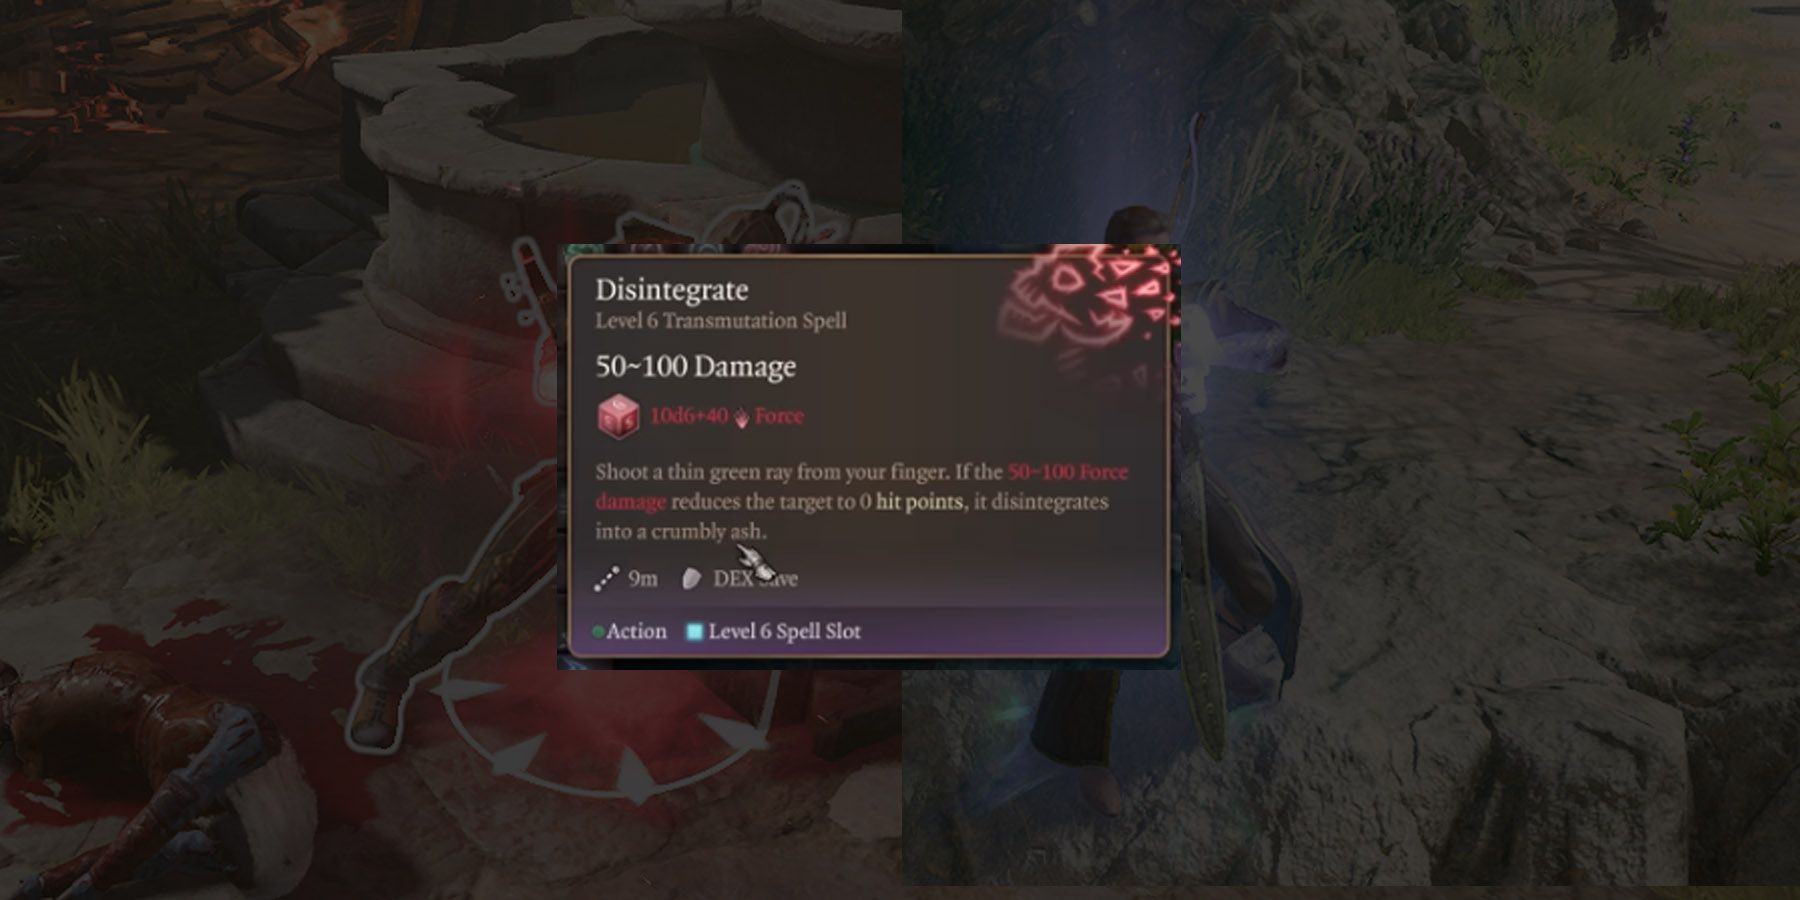
Nothing’s worse than getting obliterated into ash, and this is quite literally what Disintegrate does to a target. Considered perhaps the most powerful Transmutation spell, this 6th-level spell launches a thin green ray that deals 10d6+40 Force Damage. Enemies still have a chance of dodging the spell with a Dexterity Save, as failing to do so leaves them wide open for a world of hurt.
What’s worse about Disintegrate is its secondary effect. Opponents who succumb to the Force Damage this spell deals will not just leave a corpse but rather be disintegrated into ash. Only Sorcerers and Wizards can get access to this costly spell, but this can be quite the nuke against hard-hitting bosses.
1 Heroes’ Feast (Conjuration)
Secure Potent AOE Healing After Combat
|
Casting Time: |
1 Action |
|---|---|
|
Range: |
18m |
|
Requires Concentration: |
No |
|
Saving Throw: |
None |
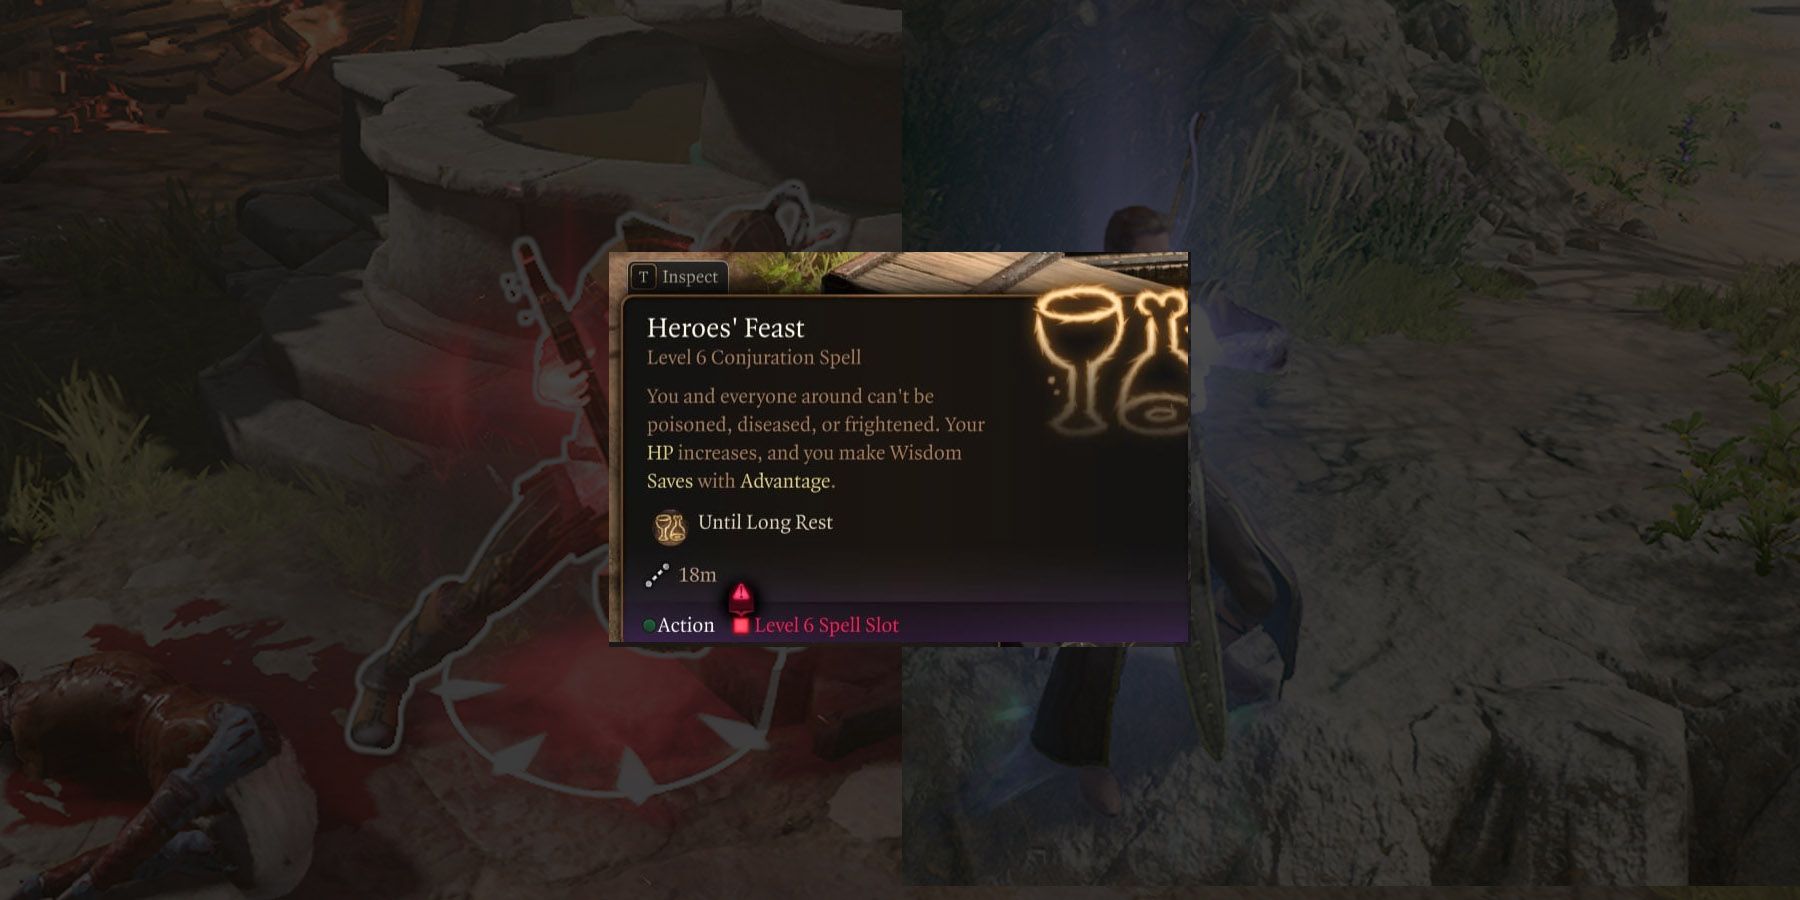
Even the highest ACs can’t protect a Baldur’s Gate 3 character with low Hit Points, especially when a properly placed attack can kill them in one blow. While Temporary Hit Points act as a “buffer” before decreasing actual Hit Points, players can boost their Hit Point maximum through leveling up or a higher Constitution that fares better in extended combat. Heroes’ Feast temporarily gives everyone the same opportunity.
This spell allows up to 12 guests to partake in a grand feast when cast. This feast not only grants immunity to Poison and cures diseases but also provides a 2d10 increase to Maximum Hit Points for 24 hours. Since the spell boosts Max HP, players can still buff this with Temporary HP spells to increase survivability.
