Highlights
- Small choices in
Baldur’s Gate 3
can have big consequences, like losing beloved companions or causing NPCs to be killed in later acts. - Players need to think carefully and consider the long-term impacts of their decisions, as seemingly innocent choices can lead to tragic outcomes.
- From returning Scratch to freeing Oskar, every decision matters, and sometimes the best choice is to leave well enough alone.
While there are hundreds of choices to make in Baldur’s Gate 3 that can change the course of the story, some may just have unintended consequences. It can be especially difficult to know the impact of choices that may seem like nothing much when they’re first encountered as early as in Act One, especially when the consequences of such actions won’t be seen until Act Three.
Baldur’s Gate 3: 7 Villains That Would Make Amazing Companions
Baldur’s Gate 3 has some amazing major and minor villains that would make great (and hilarious) companions for Tav.
In this article, we’ll be going over some big choices that Baldur’s Gate 3 allows players to make that have wide-reaching (and usually negative) impacts across the rest of the game, such as beloved companions leaving forever, or notable NPCs never being seen again… or ones that might just make players feel really, really sad.
Warning: This article contains spoilers for Baldur’s Gate 3. This article also divulges consequences within the game and reveals information the player’s character may not know. Players committed to role-playing may wish to stop reading and find these things out for themselves.
10 Returning Scratch
Losing The Goodest Boy
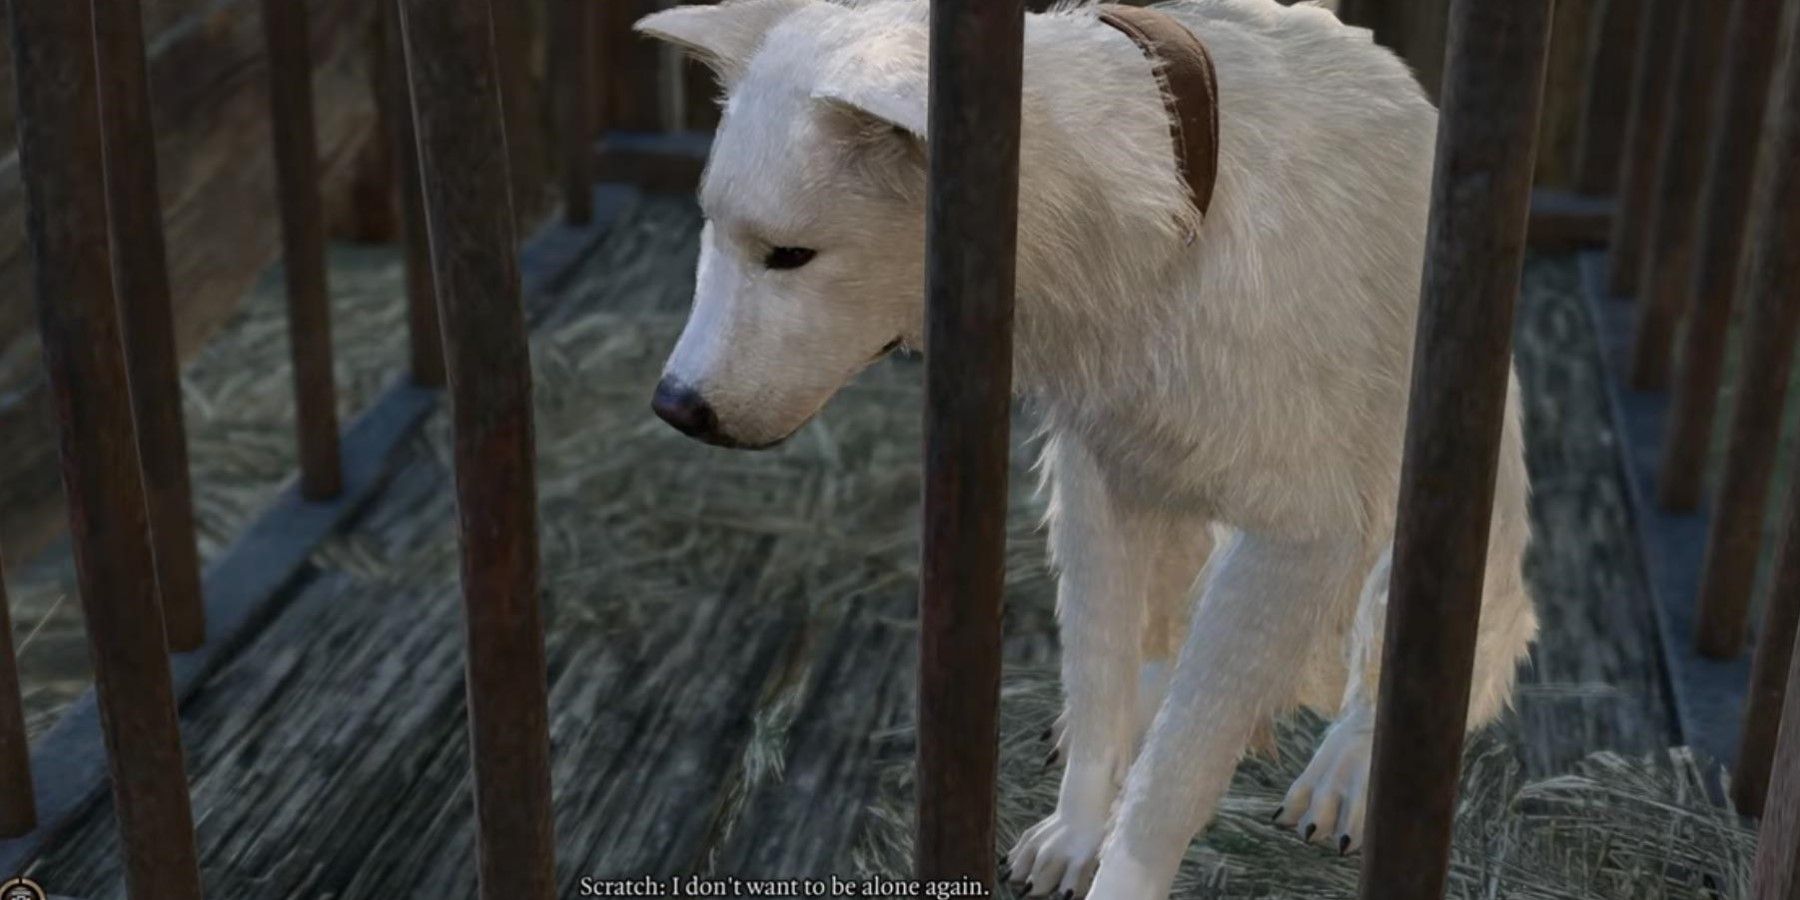
Scratch himself needs no introduction, of course. For the uninitiated, however, Scratch can be found during Act One guarding the body of his recently dead master. If players treat him kindly, they can find him in their camp a Long Rest or two later. For the most part, there doesn’t seem to be much deeper to this little story, and many may assume it’s simply a nice opportunity to gain a dog friend in camp. During Act Three, however, players might find themselves at the Sword Coast Couriers in the outer city of Rivington. Here, players can call on Scratch to join them, and it’s soon discovered that this is where Scratch originally came from.
However, it quickly becomes obvious to most that Scratch’s original caretakers may not be the nicest lot in the Gate. An NPC aptly known as Angry Mar’hyah can be found in an outdoor kennel area, and if spoken to, players can ask her if Scratch is her dog. Here, players need to make a big choice: they can try to intimidate or persuade her into letting them keep Scratch, they can fight her (arguably the best option in this situation, especially since it won’t be considered a crime), or they can choose to return Scratch.
Returning Scratch is the biggest mistake players can make here. It’s made quite obvious that the dogs – and people – under Mar’hyah’s watch are treated terribly, and once players hand Scratch over, they cannot easily get him back. He is promptly locked in a cage, and players cannot comfort him: they can only tell him that they’re leaving him forever. To make matters worse, Scratch also doesn’t understand why players are leaving him in the first place, resulting in some heartbreaking dialogue.
Baldur’s Gate 3: All Animals That Are Secretly Merchants
When you’re looking for merchants in Baldur’s Gate 3, animals may not be the first thing that comes to mind but there are a few animal traders around!
Here, not only do players lose a companion and a great treasure finder – they also rob Scratch of his own happy ending in the epilogue of the game, where he can live happily and comfortably after being adopted. Luckily, if players’ consciences kick back in after handing Scratch over, he can be rescued. However, it involves attacking and killing Mar’hyah, which will be classed as a criminal act if players are not careful enough. Since this can be avoided, it’s recommended to not hand Scratch over in the first place.
9 Letting Kagha Kill Arabella
Unforeseen Consequence In The Lacking Of Power For Future Acts
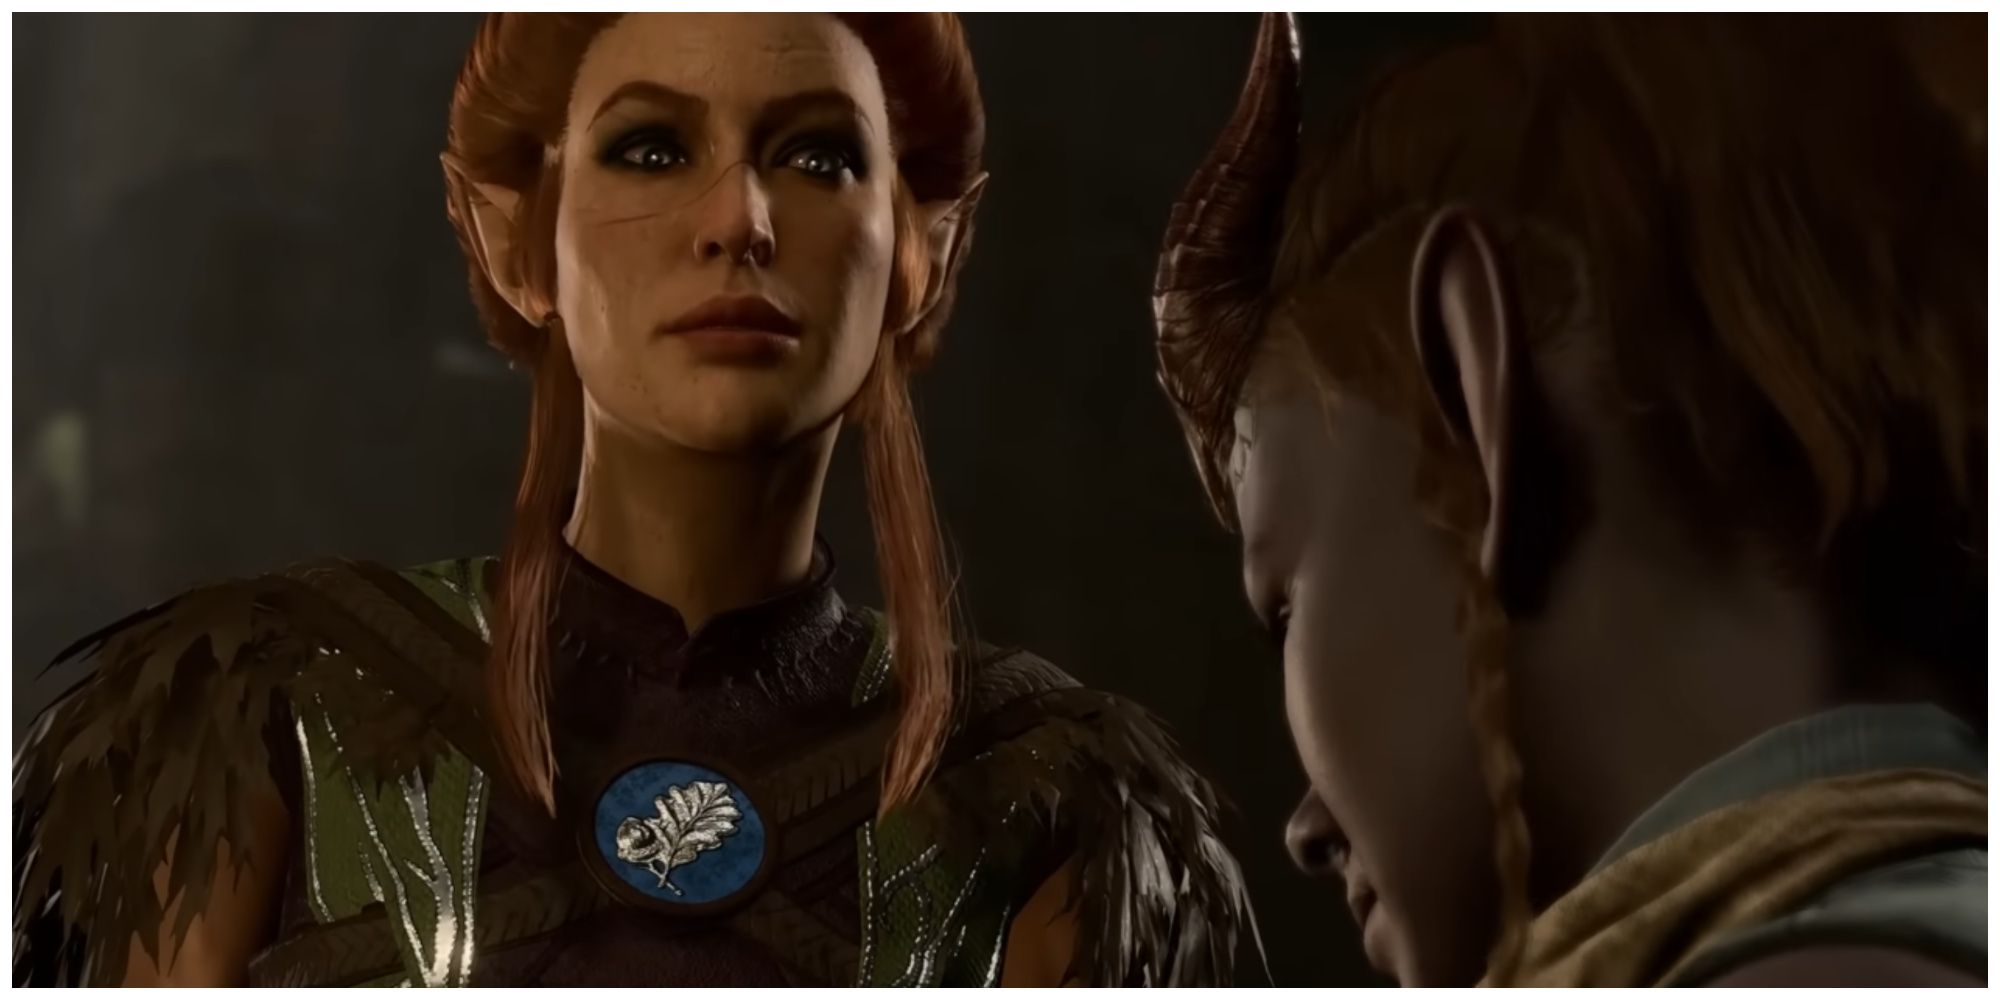
It’s made clear to players very quickly that despite being the de facto leader of the Emerald Grove instead of the missing Halsin, Kagha may not be the altruistic Druid leader many would expect. We’re first introduced to her through the Tieflings as the figure trying to rid the Grove of its Tiefling inhabitants, seeing them not as refugees but as parasites leading enemies directly to the doors of the Grove. However, upon meeting Kagha face-to-face for the first time, it quickly becomes evident that she may be even worse than first thought.
When the player meets Kagha, it’s in the middle of an argument she’s having with a Tiefling child, Arabella, who stole the Druids’ Idol of Silvanus, trying to stop the ritual which will see the Tieflings kicked from the Grove. Here, players have a crucial choice to make: they can choose not to intervene, which will encourage Arabella to try and run. If this happens, Kagha’s snake will strike Arabella, killing her. This can also happen if the player isn’t able to persuade Kagha to let her go.
In permanently killing Arabella, players are not only responsible for the death of a child; Arabella’s parents will also seek revenge against Kagha for murdering their daughter by killing her in turn. On top of this, though, Arabella plays a key role in the story through Act Two and returns as a useful ally in Act Three, making her death a loss in terms of larger gameplay, too. As such, letting her die is quite the mistake (unless players like the chaos of so much murder).
8 Giving Up Astarion
Saying Goodbye To The Most Well Written Companion For A Thanks
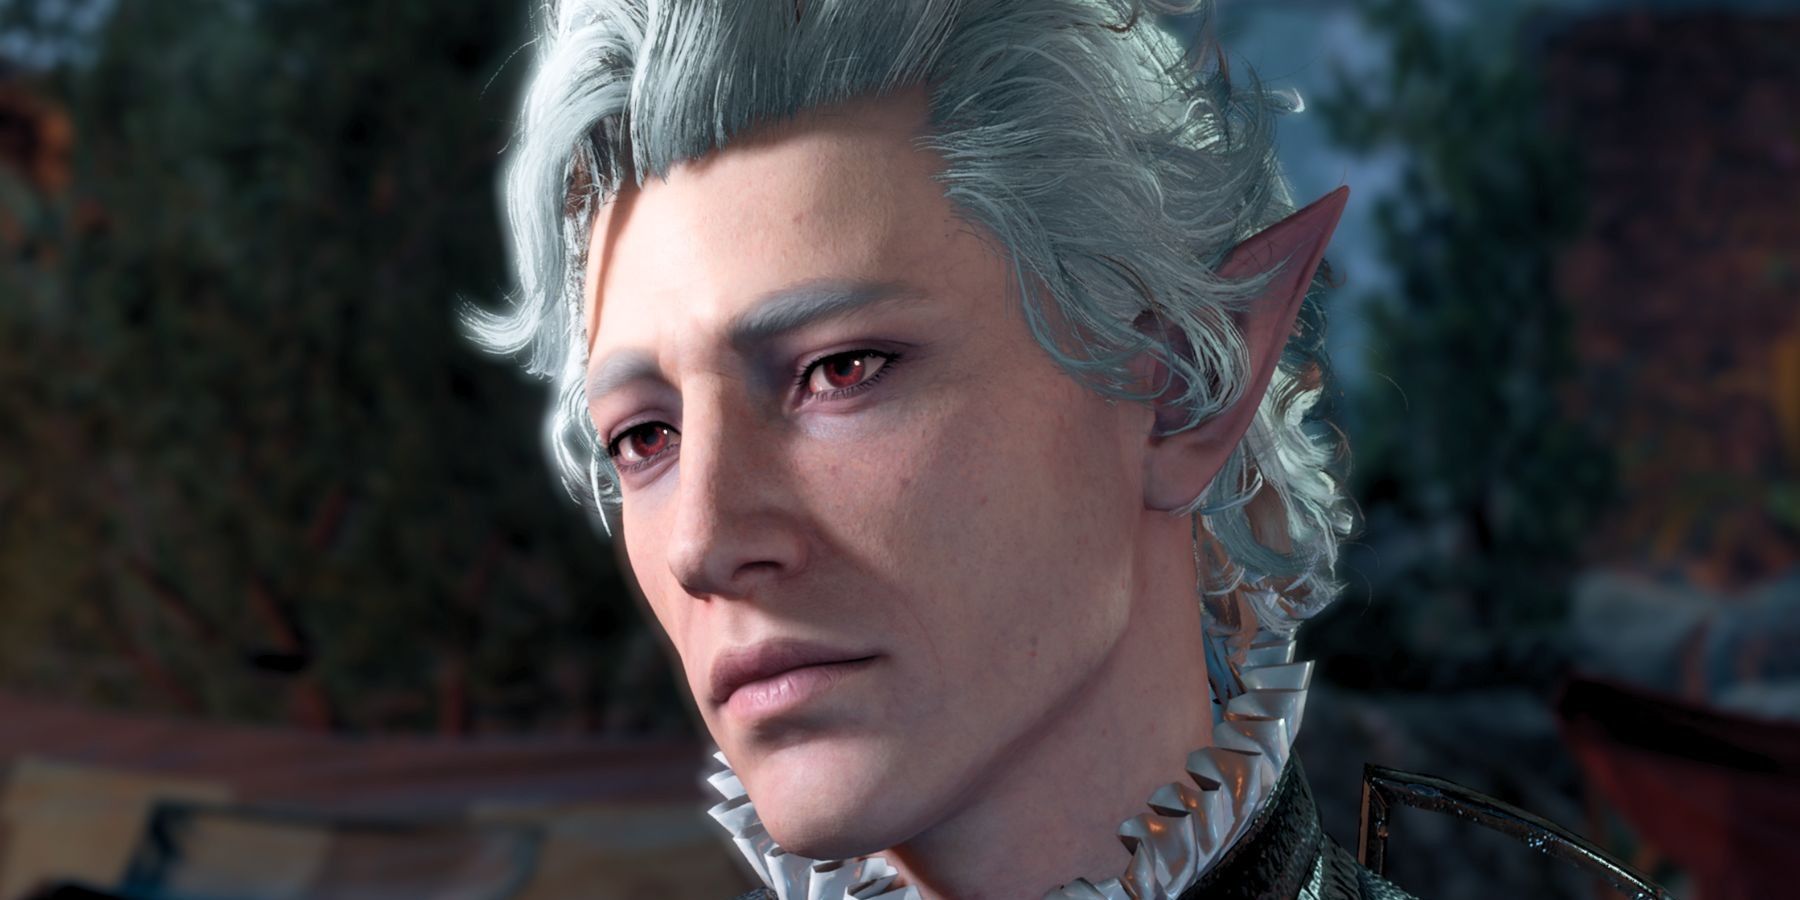
In Act One of Baldur’s Gate 3, players are likely to find themselves at Auntie Ethel’s tea house. Here, it’s likely that players will stumble across Gandrel, a Gur who informs Tav that he’s looking for a certain vampire spawn. This spawn, of course, is Astarion – and as it turns out, Astarion may very well be responsible for kidnapping several Gur children and handing them over to his evil master, Cazador.
Here, players are faced with a choice: they can give Astarion up to Gandrel, whether by handing him over directly if he’s in the party or by giving Gandrel the location of the player’s camp, or they can lie to Gandrel and say they know nothing of Astarion. While this choice may be difficult for some players – especially faced with Astarion’s racism towards Gur and his lack of remorse in kidnapping the Gur children – handing Astarion over guarantees that he will die after being returned to his master, Cazador. Even for players who don’t necessarily like Astarion, this completely cuts off his questline, The Pale Elf, and also stops him from the opportunity to redeem himself. While handing him over may feel right for some roleplaying morally good characters, players should think carefully about whether they’re okay with not delving any further into Astarion’s past and story.
7 Telling Rolan To Leave
The Tiefling Refuges Lose Their Defenders
Rolan and his siblings can be met very quickly within Act One. They are found close to the very first merchant the game has to offer in the Emerald Grove, and players can’t help but overhear the loud argument they’re having. This argument is about whether to leave the Grove or not, as being kicked out seems inevitable no matter what. While Rolan’s sister, Lia, is adamant that they should stay, and their brother, Cal, refuses to get involved, Rolan seems set on leaving the grove and heading towards Baldur’s Gate as fast as possible – in part because he has been given an apprenticeship with (in)famous magician, Lorroakan.
Here, the devs of Baldur’s Gate 3 have given the player a seemingly innocuous decision to make. They can interrupt the conversation to either agree with Lia or join Rolan in convincing them to leave. Telling them to leave is the mistake here – if players do this, Lia and Cal – along with most other Tieflings in the Grove – will die. The depressing implication here is that Rolan is not strong enough to protect his siblings, and the rest of the Tieflings are not strong enough in turn to protect themselves without Rolan’s help.
Baldur’s Gate 3: 15 Characters You Should Kill
Baldur’s Gate 3 players a likely to take down a variety of characters during their playthrough, but some NPCs are more rewarding to kill than others.
In turn, Rolan does not appear as usual in Act Two; instead, he can only be found again in the Gate, apprenticing with the aforementioned Lorroakan. However, despite the fact that Rolan is clearly being mistreated by his new master, there are no opportunities to save him, and if the player finally decides to go against Lorroakan and his plans, Rolan will be killed in the ensuing battle with no way to bring him back to life. Even if they did, Rolan is left without his siblings, making his ending an unhappy one.
6 Dealing With Orin
Permenantly Kill Off A Companion
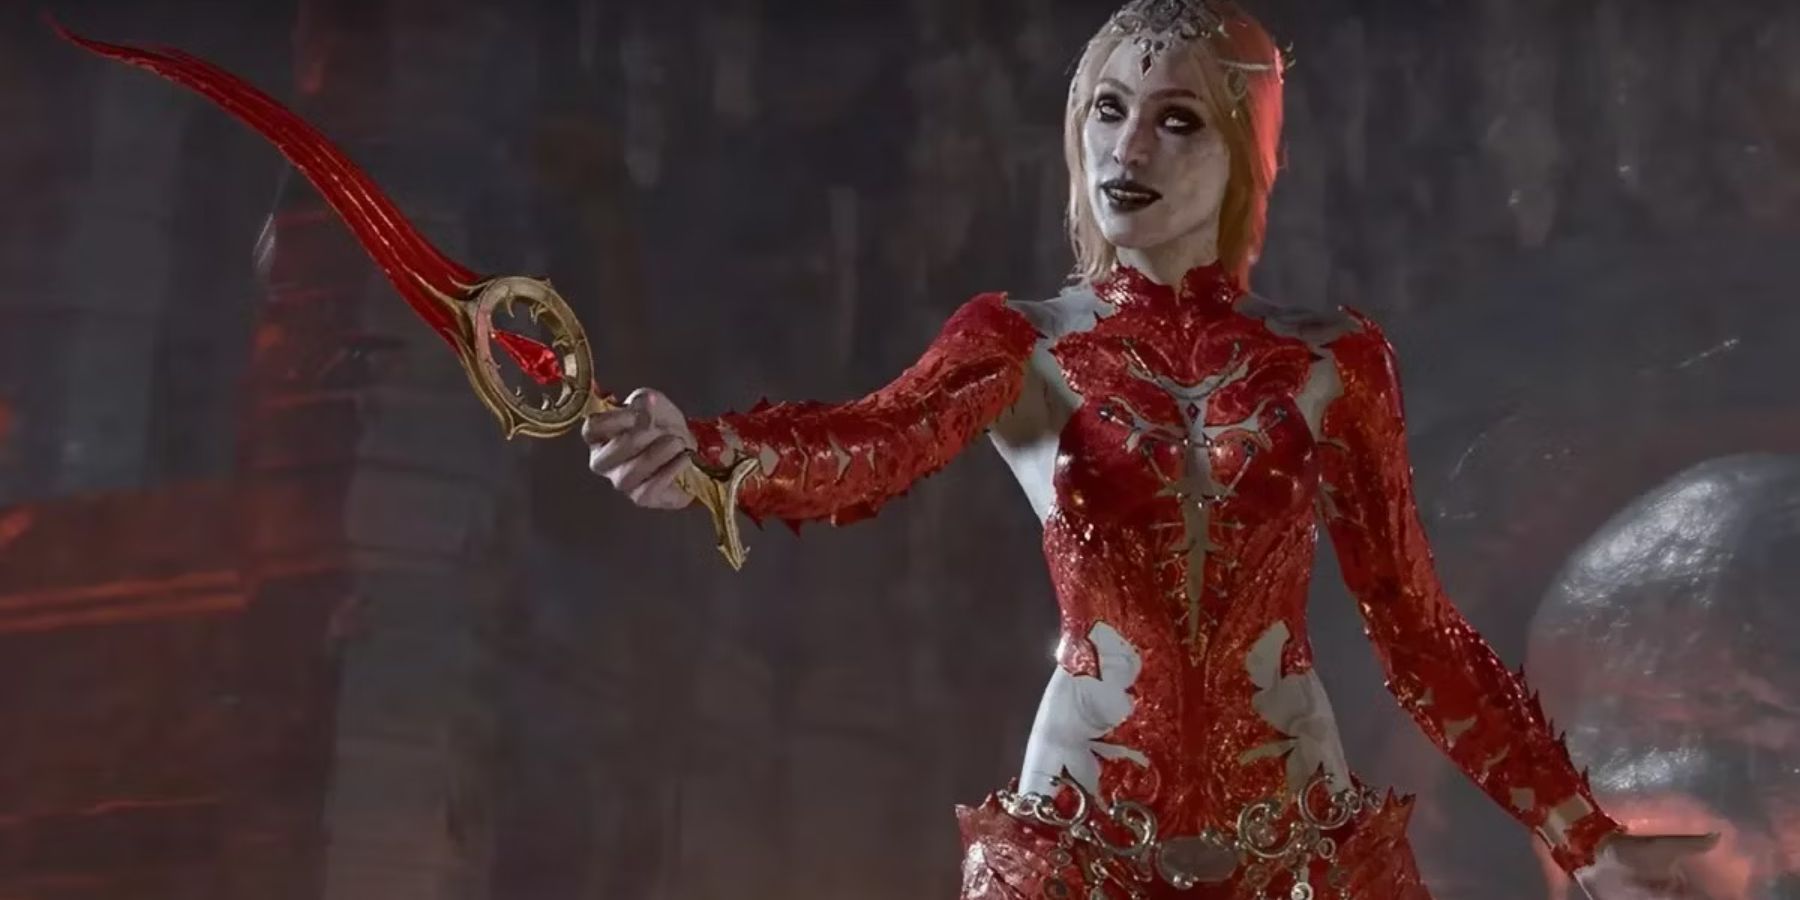
It’s made pretty obvious from the moment she appears late in Act Two that Orin isn’t exactly normal. However, this becomes the players’ issue directly when they are faced with her in Act Three. Not only does she shapeshift into random people around the Gate to trick the player, but she goes a step further and infiltrates the camp, too. This culminates in her kidnapping one of four members of the camp, with a choice of Gale, Halsin, Minthara, or Lae’zel. However, if no potential victims are available to kidnap and the player has said the young orphan girl Yenna is not welcome to join them in camp, Orin will instead choose to infiltrate your camp as Yenna.
All of these kidnappings have horrifying results once the kidnapping is revealed, though Lae’zel and Yenna are arguably the worst of a bad bunch. Orin shapeshifting as Lae’zel, for instance, will slit Yenna’s throat if players aren’t able to intimidate or persuade her not to. Orin as Yenna is particularly horrifying, though. She will come to the player and offer them a ‘special’ meat skewer she has cooked. This meat skewer is made of Yenna’s pet cat, Grub, whom Orin has killed and cooked.
On top of this, the kidnapped victim will be killed by Orin if players don’t manage to convince Orin through one of three DC25 checks to let the victim go. They will be sacrificed in the name of Bhaal and will not be able to be revived. As such, players need to be careful when navigating this quest, lest they end up having a little girl’s cat served up for mealtime.
5 Failing To Help Halsin
Halsin Can Be Lost Forever To Those Without Heroic Tendencies
Throughout Acts One and Two, Halsin needs the player’s help a lot, to say the least. Whether it’s freeing him from the Goblin Camp, helping him sort out the mess that Kagha has made of his Grove, or helping him understand the mystery of Act Two’s Shadow Curse, players often have to check in with him to ensure that his goals are met. However, players can make some big mistakes that will lead to Halsin’s related quests being permanently cast aside, with wide-reaching implications for the Sword Coast remaining.
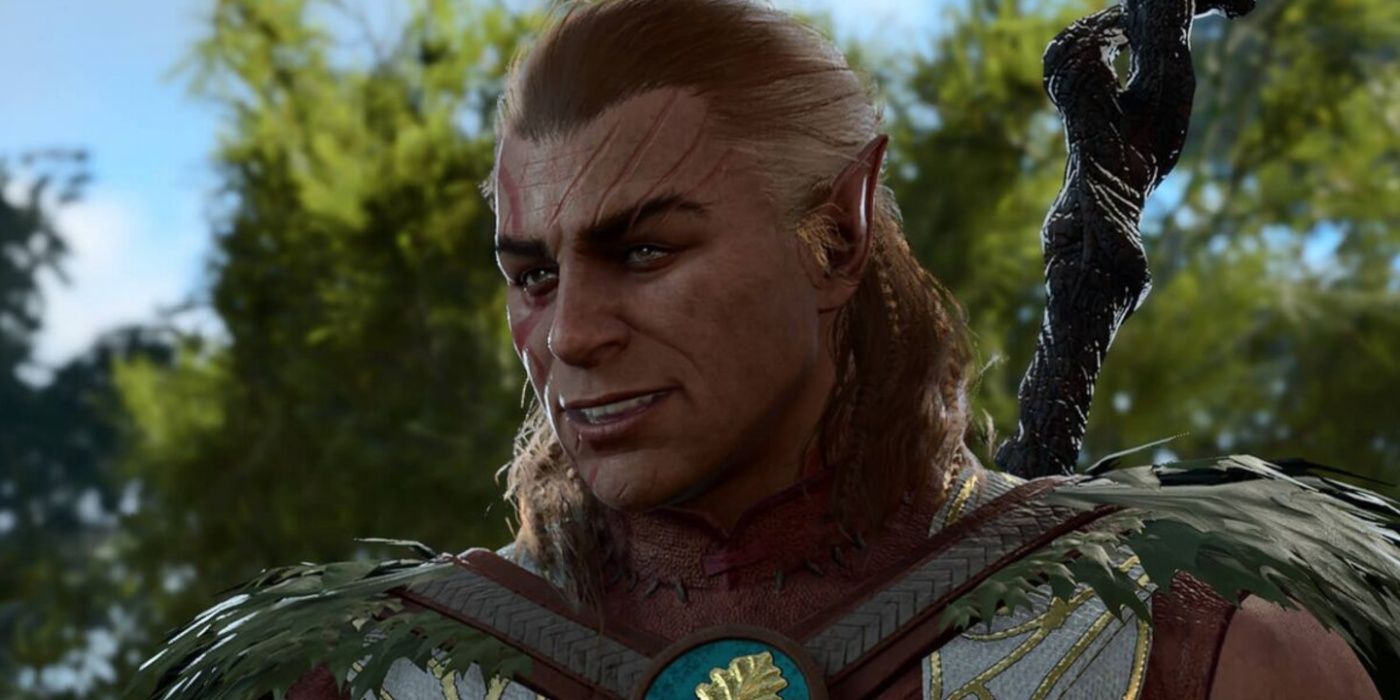
One of these big Halsin-related mistakes can be made by not even having anything to do with Halsin in particular. If players choose to go the more morally evil route and side with the Goblins and Minthara, killing the Druids and Tieflings in turn, Halsin will eventually find his own way out of the Goblin Camp. In turn, he’ll turn up at the player’s campsite and threaten to murder them. This will cut off Halsin’s future quests as well as the opportunity to receive him as a companion.
However, if players choose to side with Halsin, there are still plenty of issues that can arise when entering Act Two’s Shadow-Cursed Lands. For instance, a big mistake players can make is failing to protect the portal they built to enter the Shadowfell lands to find Thaniel. If too many enemies reach the portal and destroy it, Halsin will be trapped inside forever. Similarly, though, if players manage to protect Halsin and his portal but do not follow up with the rest of this quest by reuniting Thaniel and Oliver, the Shadow Curse will not be lifted, and as such, Halsin will permanently leave the party to stay behind in the Shadow-Cursed Lands in an attempt to fix the issue himself.
4 Shadowheart and the Gauntlet of Shar
Lose Shadowheart To Shar, Or Allow Her To Free Herself
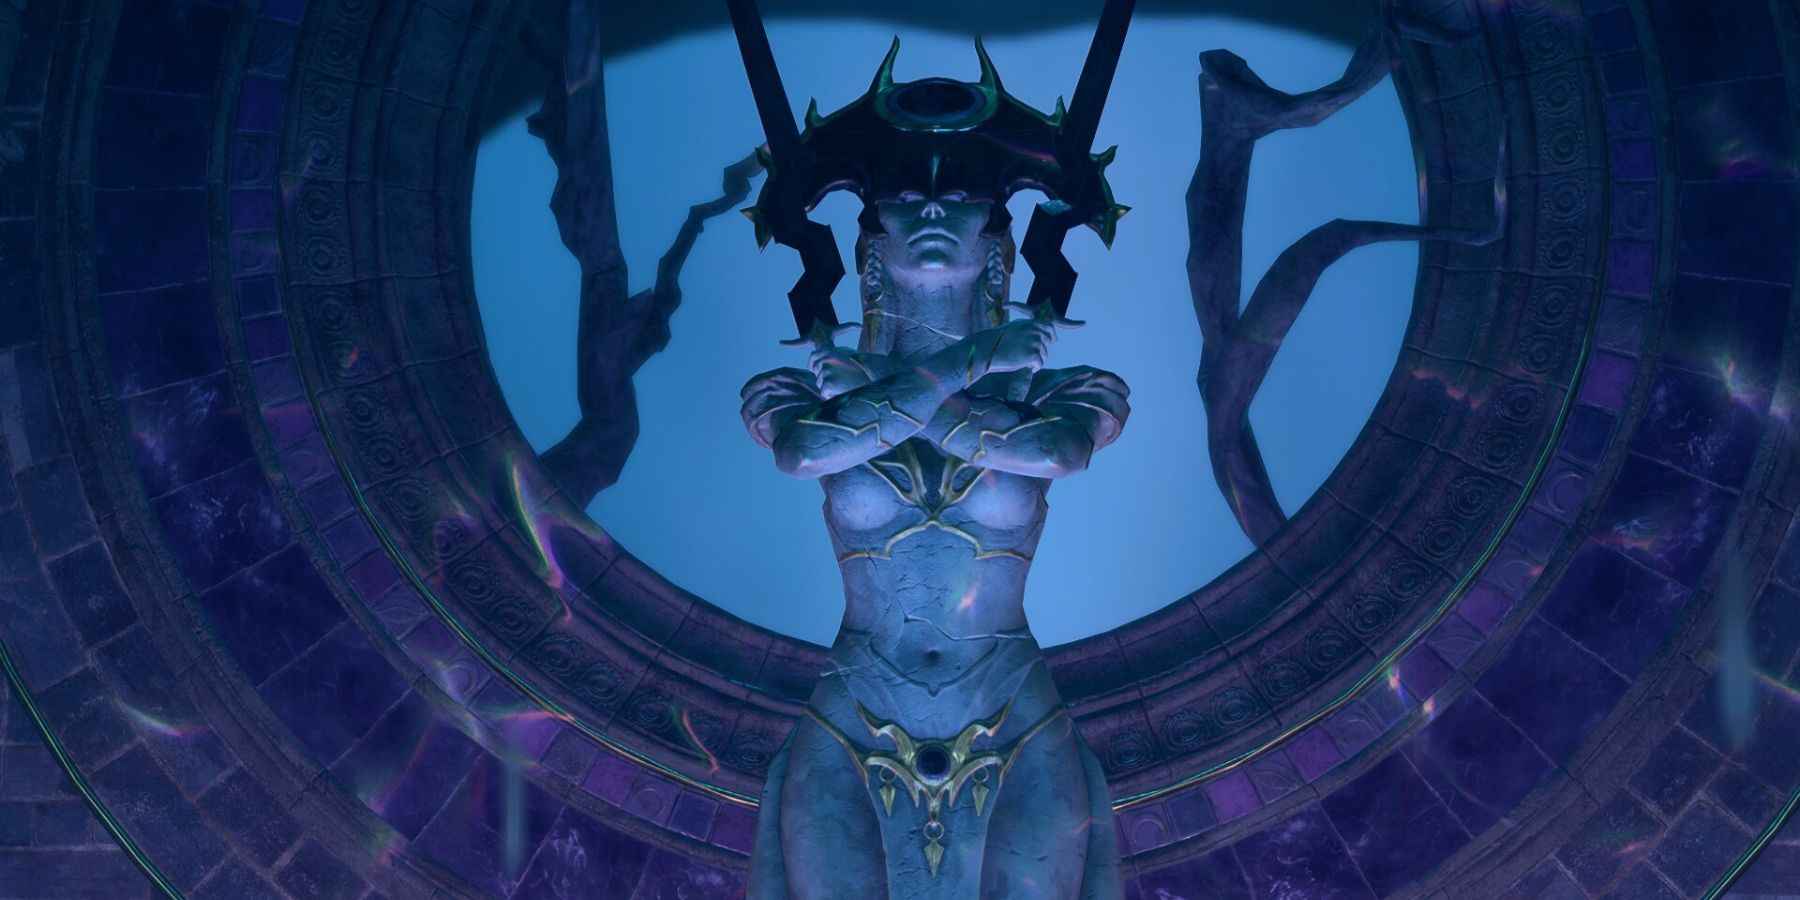
There are multiple choices that follow the discovery of the Gauntlet of Shar and Shadowheart’s reaction to it. The first big mistake players can make here, though, is completing the Gauntlet without Shadowheart. Bringing Shadowheart is a good idea in the first place solely because she can help a lot with the tasks thanks to her background as a Sharran worshiper, but it’s also important in regards to her personal quest. If players decide to do it without her, she will grow angry that players robbed her of the opportunity to prove herself to her god, and she will decide to leave the party. This completely cuts off access to using Shadowheart as a companion, and also ends her personal story quest, cutting off a large storyline in Act Three (a story that also brings back a familiar face for players of Baldur’s Gate 2).
Another mistake that can be made here is slightly more niche. If players are playing as a Cleric of Selune, they will find two unique dialogue options awaiting them at the end of the Gauntlet when Shadowheart asks the player to help her decide what she should do when finally faced with the Nightsong.
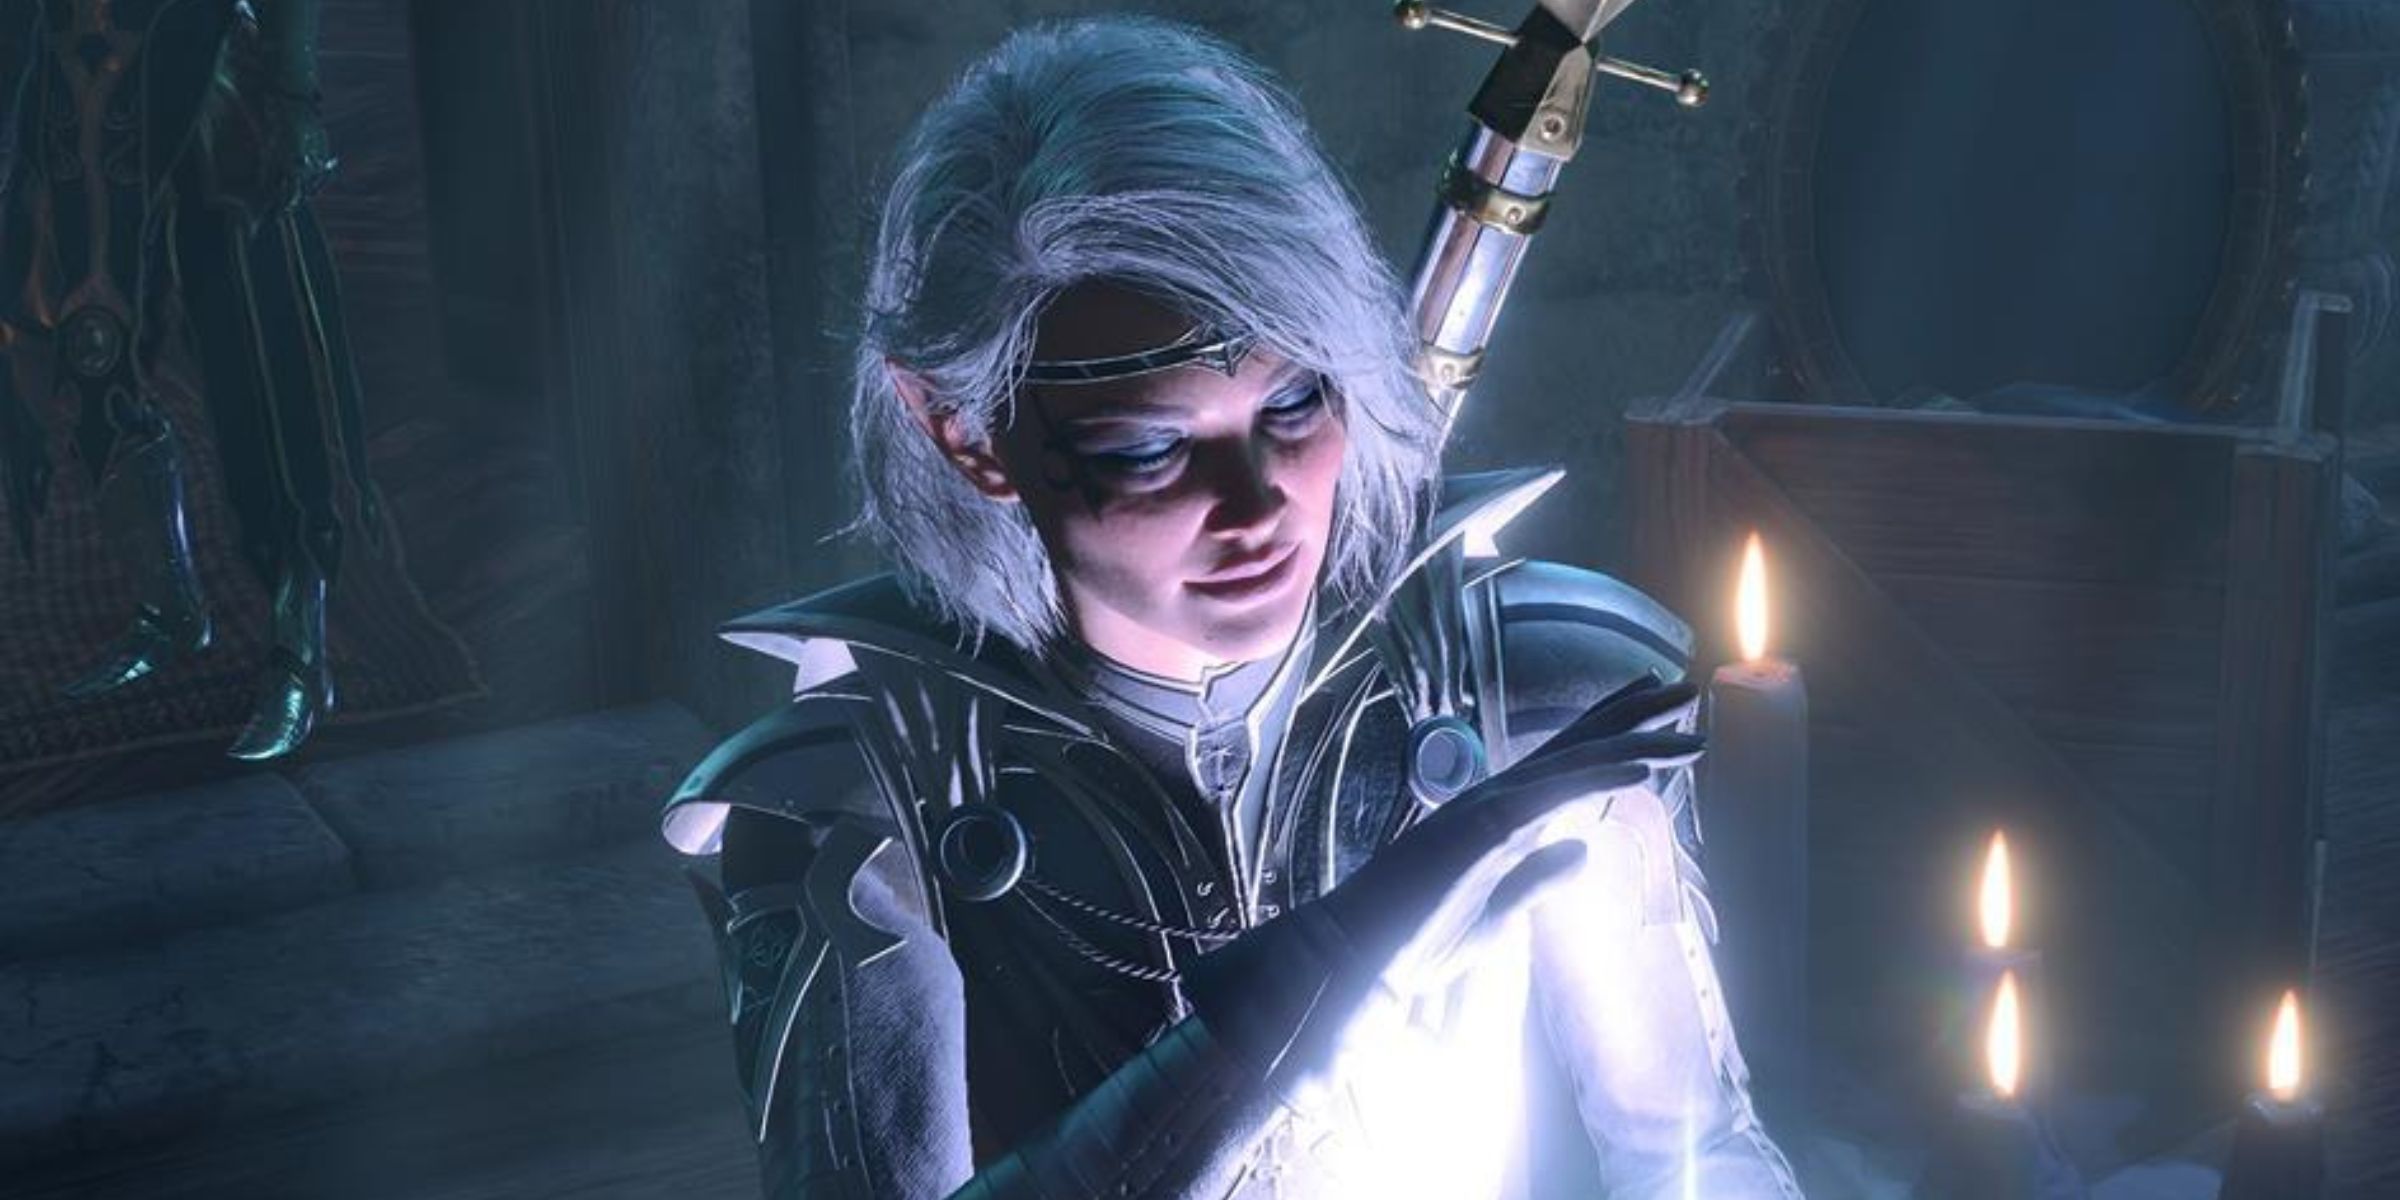
Baldur’s Gate 3 Dropped The Ball With One Staple Cleric Feature
Clerics are versatile with a wide range of domains and spells, so when Baldur’s Gate 3 removed one option it limited them in many ways.
One option encourages Shadowheart to ‘end the Nightsong’s misery’; the other asks Shadowheart to ‘let her live’, as Shar will never stop asking Shadowheart for more. However, both of these options will result in Shadowheart killing the Nightsong, thus turning to Shar permanently by becoming a Dark Justiciar. While the second option, in particular, may seem like an encouragement to help turn Shadowheart from Shar, it is a trap. As such, Selunite Clerics hoping to save Shadowheart from Shar should avoid these choices at all costs.
3 Killing the Owlbear Cub
Give Scratch A Best Friend and Bring In Another Camp Pet
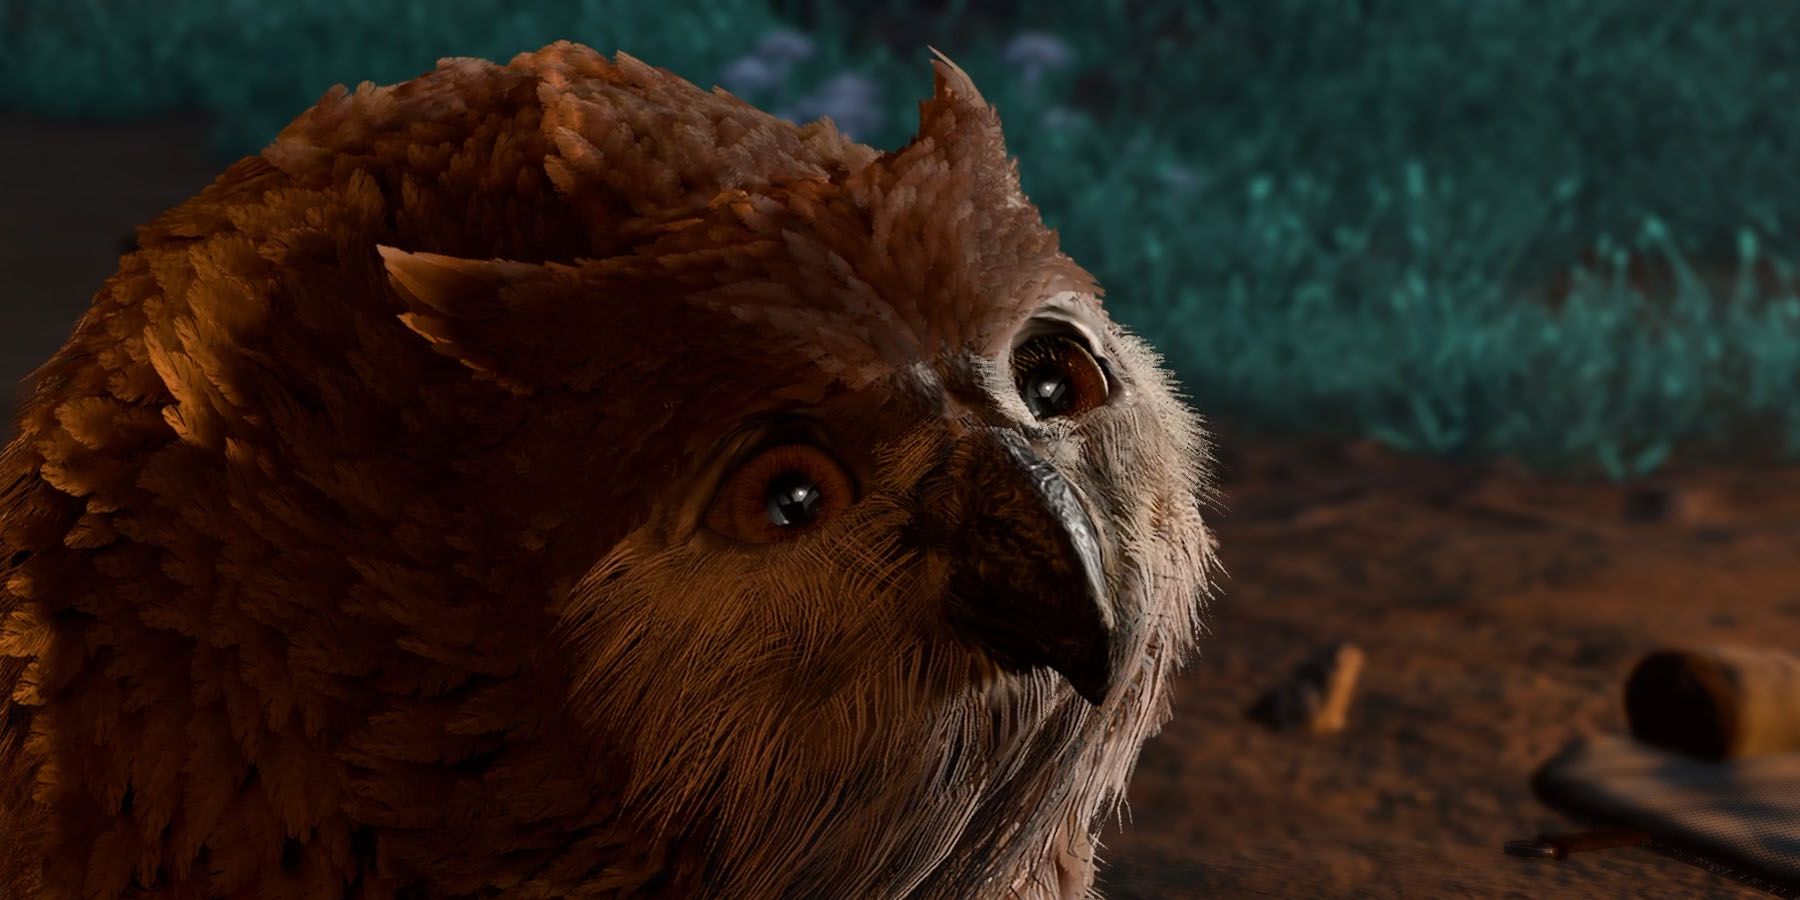
Alongside Scratch, the Owlbear Cub is favored by a lot of players for several reasons, but mostly because it’s such a sweet little pal to be able to talk to (and give a good scratch to!) in camp. However, the players’ introduction to the Owlbear Cub isn’t necessarily the most positive one, considering that he’s met alongside his angry mother (and his angry father for players delving into Honor Mode). As such, it’s very easy to kill the Owlbear Cub in his cave in Act One accidentally in battle, but players should avoid this: once the Owlbear Cub is gone, he’ll never come back. Alongside this, players should also avoid fighting with the NPCs near the Owlbear Cub, as they will permanently turn the Owlbear Cub hostile to the player, meaning he cannot be recruited.
There’s also another opportunity after this to lose the Owlbear Cub, even if players choose to spare him in the Owlbear nest. As long as they haven’t already killed off the Goblin Camp leaders, players should find him again at the Goblin Camp after being kidnapped by a group of unruly goblins. Here, they can convince the goblin to let the Owlbear leave or try to beat the goblins at their own game in a game of Chicken Chase. However, trying to convince the goblins comes with another risk: failing to do this will likely end in the Owlbear being killed by the goblins.
All of this being said, there’s one easy way to skip all the trouble and gain the Owlbear Cub easily as a companion: simply kill off all of the goblins in the Goblin Camp before going to look for the Owlbear Cub. In doing this, players will discover that his mother had already been slaughtered by a pack of goblins. A few days later, the Owlbear Cub will show up in camp.
2 Giving Lady Esther The Egg
Doom The Society Of Brilliance
Lady Esther is a merchant NPC that players can meet towards the end of Act One. She greets players by asking them to sneak into the nearby Githyanki Creche to steal an egg for her. There are warning signs here that players may miss – she admits that the people she works for want to use the egg and the Githyanki that will hatch from it as a human experiment of sorts – but there don’t seem to be any immediate consequences, even from Lae’zel. While there are options to have Lady Esther take alternatives, such as an Owlbear egg, if players successfully gain the Gith egg they can return to Esther and give it to her.
However, the consequences of this relatively simple act will span all the way into Act Three, coming as an unpleasant surprise to players who have likely forgotten about an action they chose in Act One. If the player gives the Gith egg to Lady Esther, they’ll find a nasty surprise waiting for them in the Lower City. The child that hatched from the egg has gone on to brutally murder several members of the Society of Brilliance (including Esther and another Act One NPC, Omeluum) after being horribly abused by the Society of Brilliance members.

Baldur’s Gate 3: 13 Things You Should Never Sell
Larian’s Baldur’s Gate 3 has a ton of items and loot, which can get overwhelming. Here’s what players should never sell off at a vendor.
This ending can be avoided entirely if the player does not hand over the egg. Instead, Lae’zel will be adamant that the player (or her) should hold on to the egg. If players manage to keep the egg safe over the course of the game, they’ll be rewarded with egg hatching in the Epilogue of the game. Not only does this make Lae’zel very happy – but it also saves the Gith inside from being abused to the point of murder.
1 Freeing Oskar
A Painter Who Costs More Than He Is Worth
Oskar Fevras is a down-on-his-luck artist who can be found being kept as a prisoner by the Zhentarim in their Act One Hideout. When players first come across him, it’s very easy to assume at once that he’s a victim – after all, the Zhentarim aren’t exactly the most morally good group the game has to offer. As such, many players will offer to free him from his current life of servitude, either by buying him as a slave (which is a waste of money, as Oskar runs off, leaving the player down a few hundred gold), persuading his captor to release him, or by killing all of the Zhentarim in the hideout. What’s less obvious, however, is that all of these options are a bad choice. While it may seem cruel, players should leave Oskar where he is, as Oskar is – to put it mildly – not a great person.
If players free Oskar, he can be found again in Act Three living with his current partner, Lady Jannath, in her estate in the Lower City. However, players will soon find themselves in a conspiracy that involves Oskar bringing back a dead one-time fling of his to ask her if he was the reason she committed suicide – a situation that also puts his current girlfriend in mortal danger. While this issue can be resolved through a lot of fighting and persuasion checks, the benefit of it isn’t really that great. In return for saving his life and convincing his girlfriend not to break up with him after he almost got her killed, Oskar paints a picture of somebody in the camp.
However, the selection of who he paints is random and can include level-one characters who have never left camp, or even hirelings. All in all, Oskar sucks, Lady Jannath is better off without him, and he’s definitely not worth the effort.
